Diana’s Holiday Bake-a-Long Week 7: Imperial Cookies

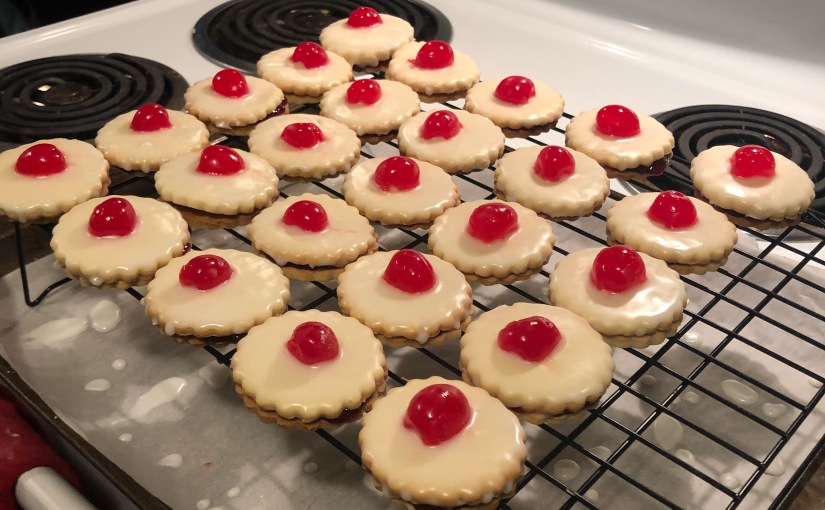
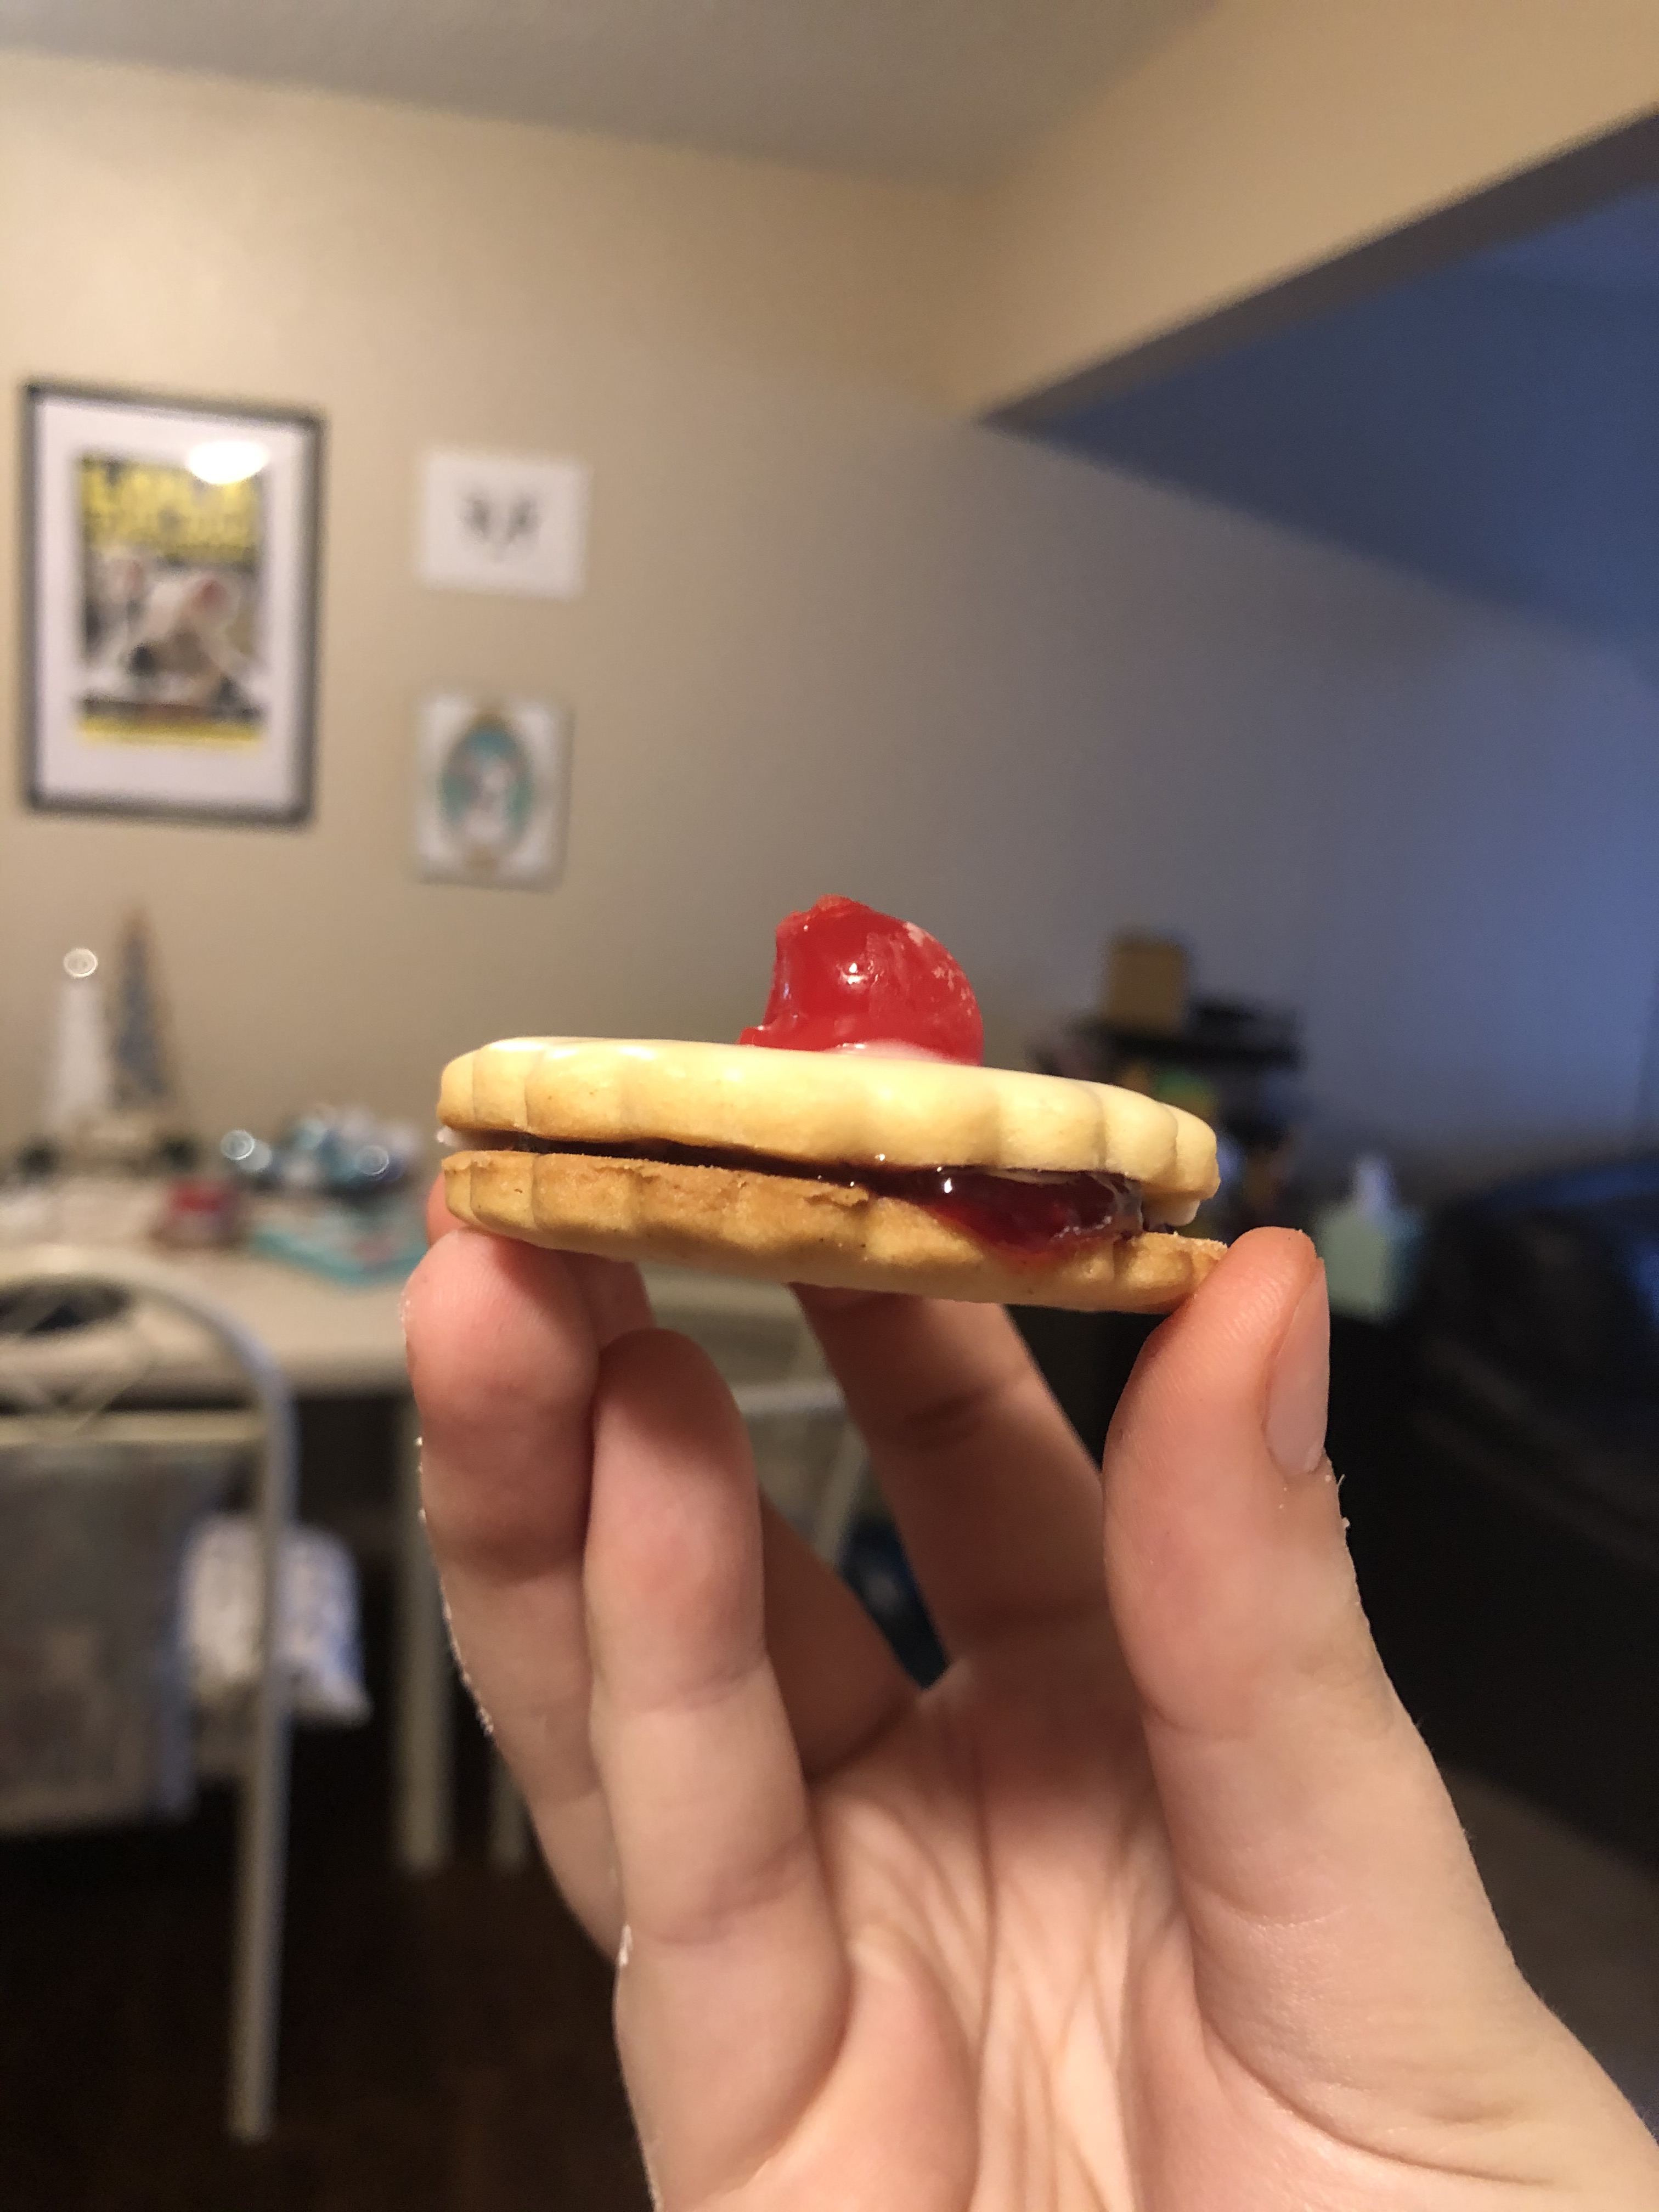
My holiday baking extravaganza comes to an end with a Winnipeg classic: Imperial cookies. They are also known as Empire cookies, and they are also known as gone because they’re so delicious. This iced shortbread and jam sandwich cookie takes a little extra patience and a few extra steps, but they are so worth it.

Imperial cookies are my all-time favorite. Shortbread, jam, icing, and literally a cherry on top. What’s not to love?

This recipe comes mostly from Claudia’s Cookbook (who I assume is also a Winnipegger, hey girl hey), with a few changes in the order of operations. I made them as the recipe states last year, and the icing was a little messy, so I changed it up this year and I’m very pleased with how it went.

If you use a 2″ cookie cutter, it will probably make a dozen sandwich cookies like the recipe states, but mine was a little smaller (maybe 1.25-1.5″?) so I got 25 sandwich cookies. It all depends on how much you’d like to share with others.

Imperial Cookies
Ingredients:
1/2 cup unsalted butter, softened
1/2 cup white sugar
1 egg
1 tsp. vanilla extract
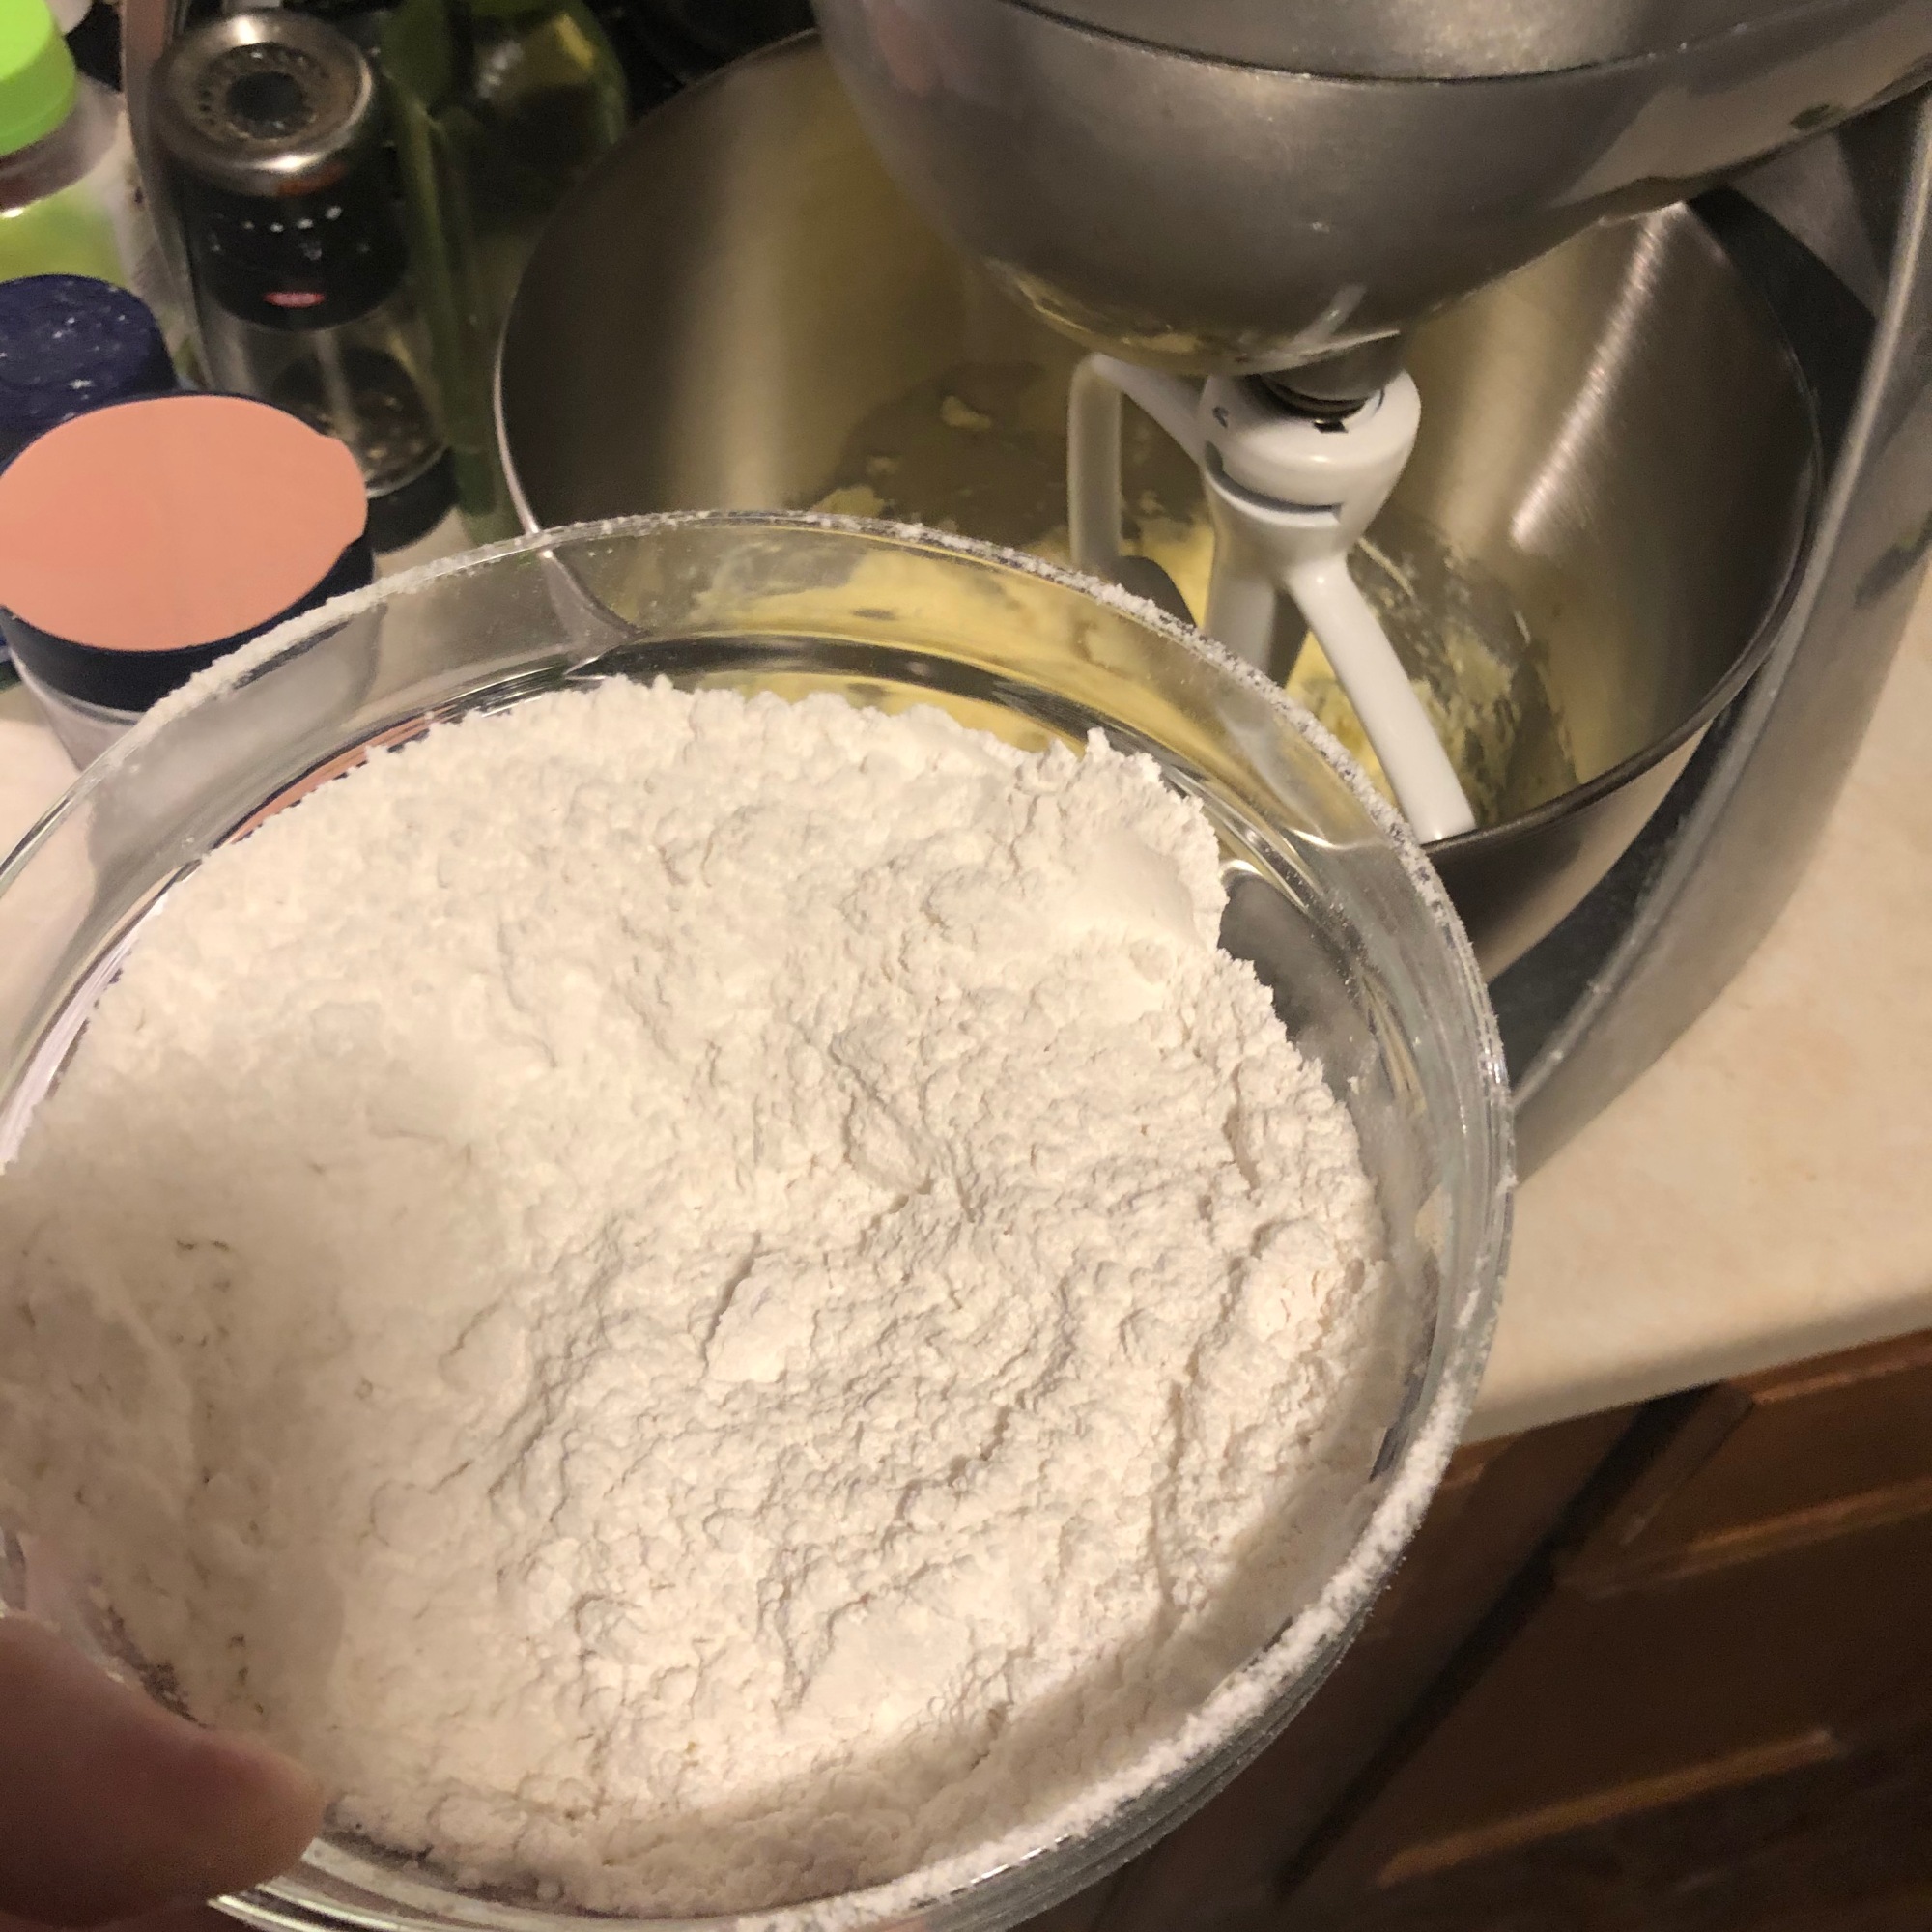
2 cups cake flour, sifted
1 tsp. baking powder
1/4 tsp. salt
1/3 cup seedless raspberry jam
Maraschino cherries (you’ll use a half cherry for every cookie, so depends on how many cookies you make. Just get a jar)
1 cup icing sugar, sifted
1/4 tsp. almond extract
3-5 tbsp. milk (start with 1 tbsp and gradually add until you get the consistency you need)

Instructions
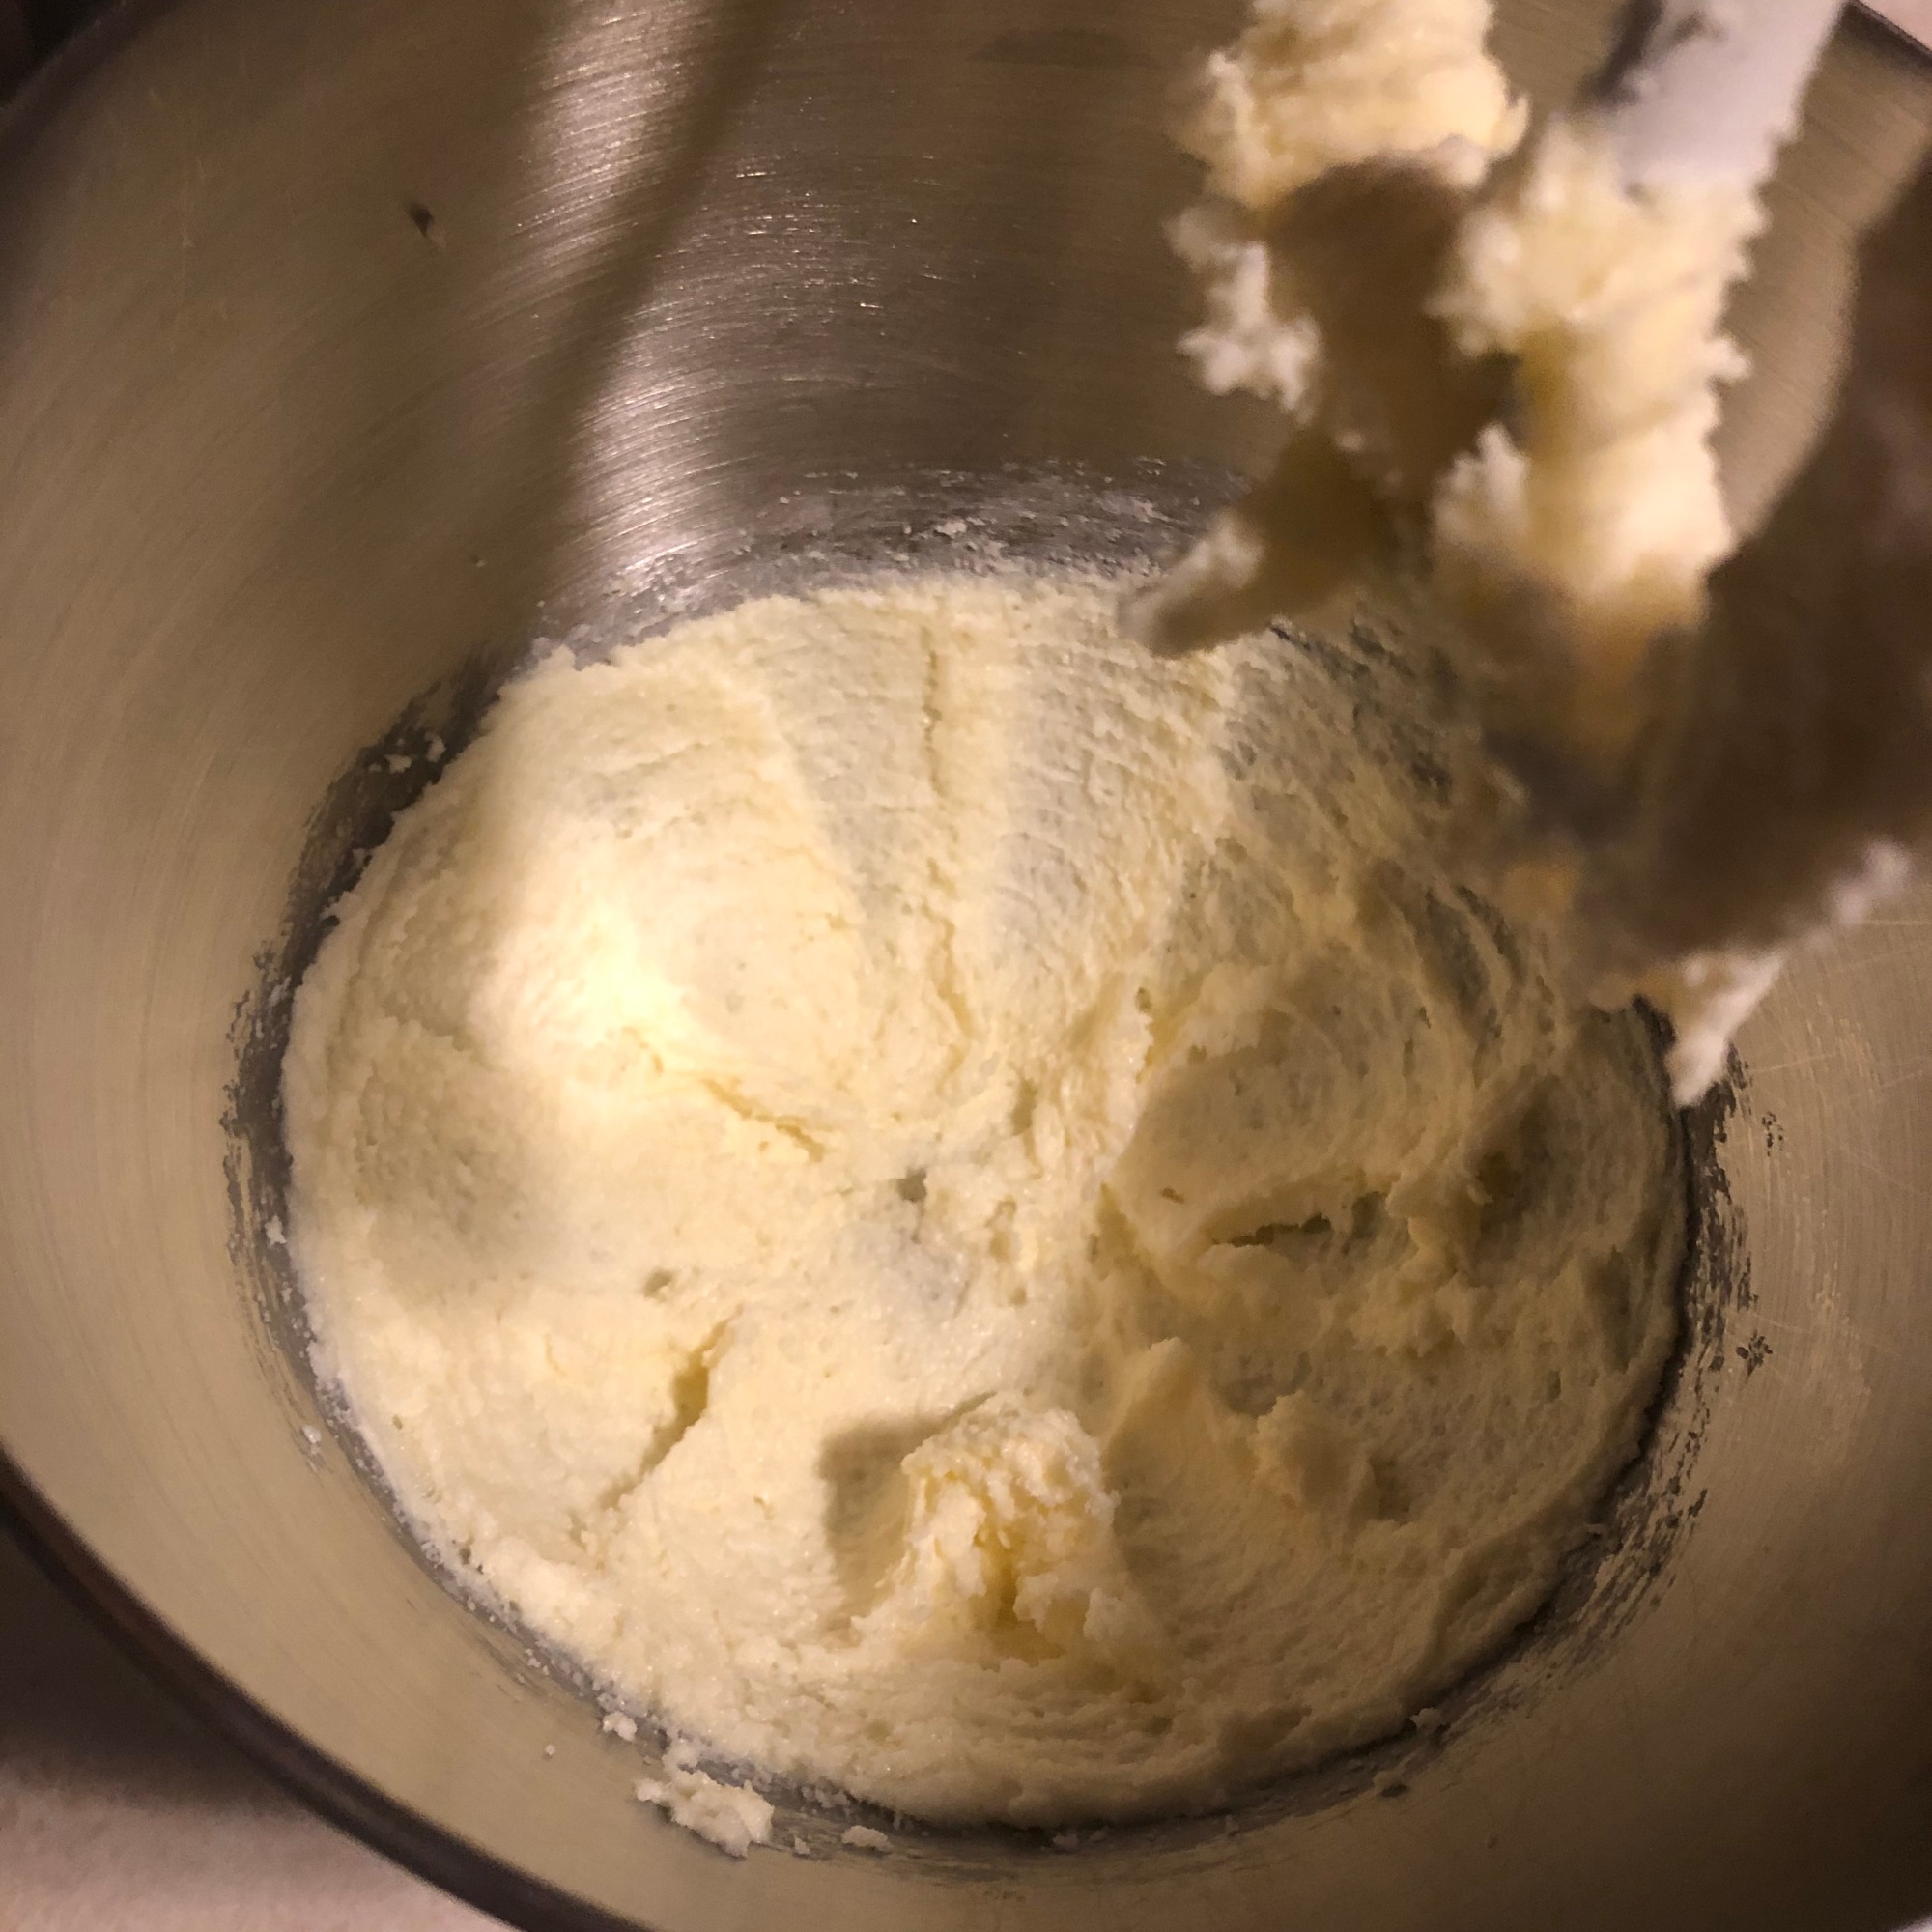
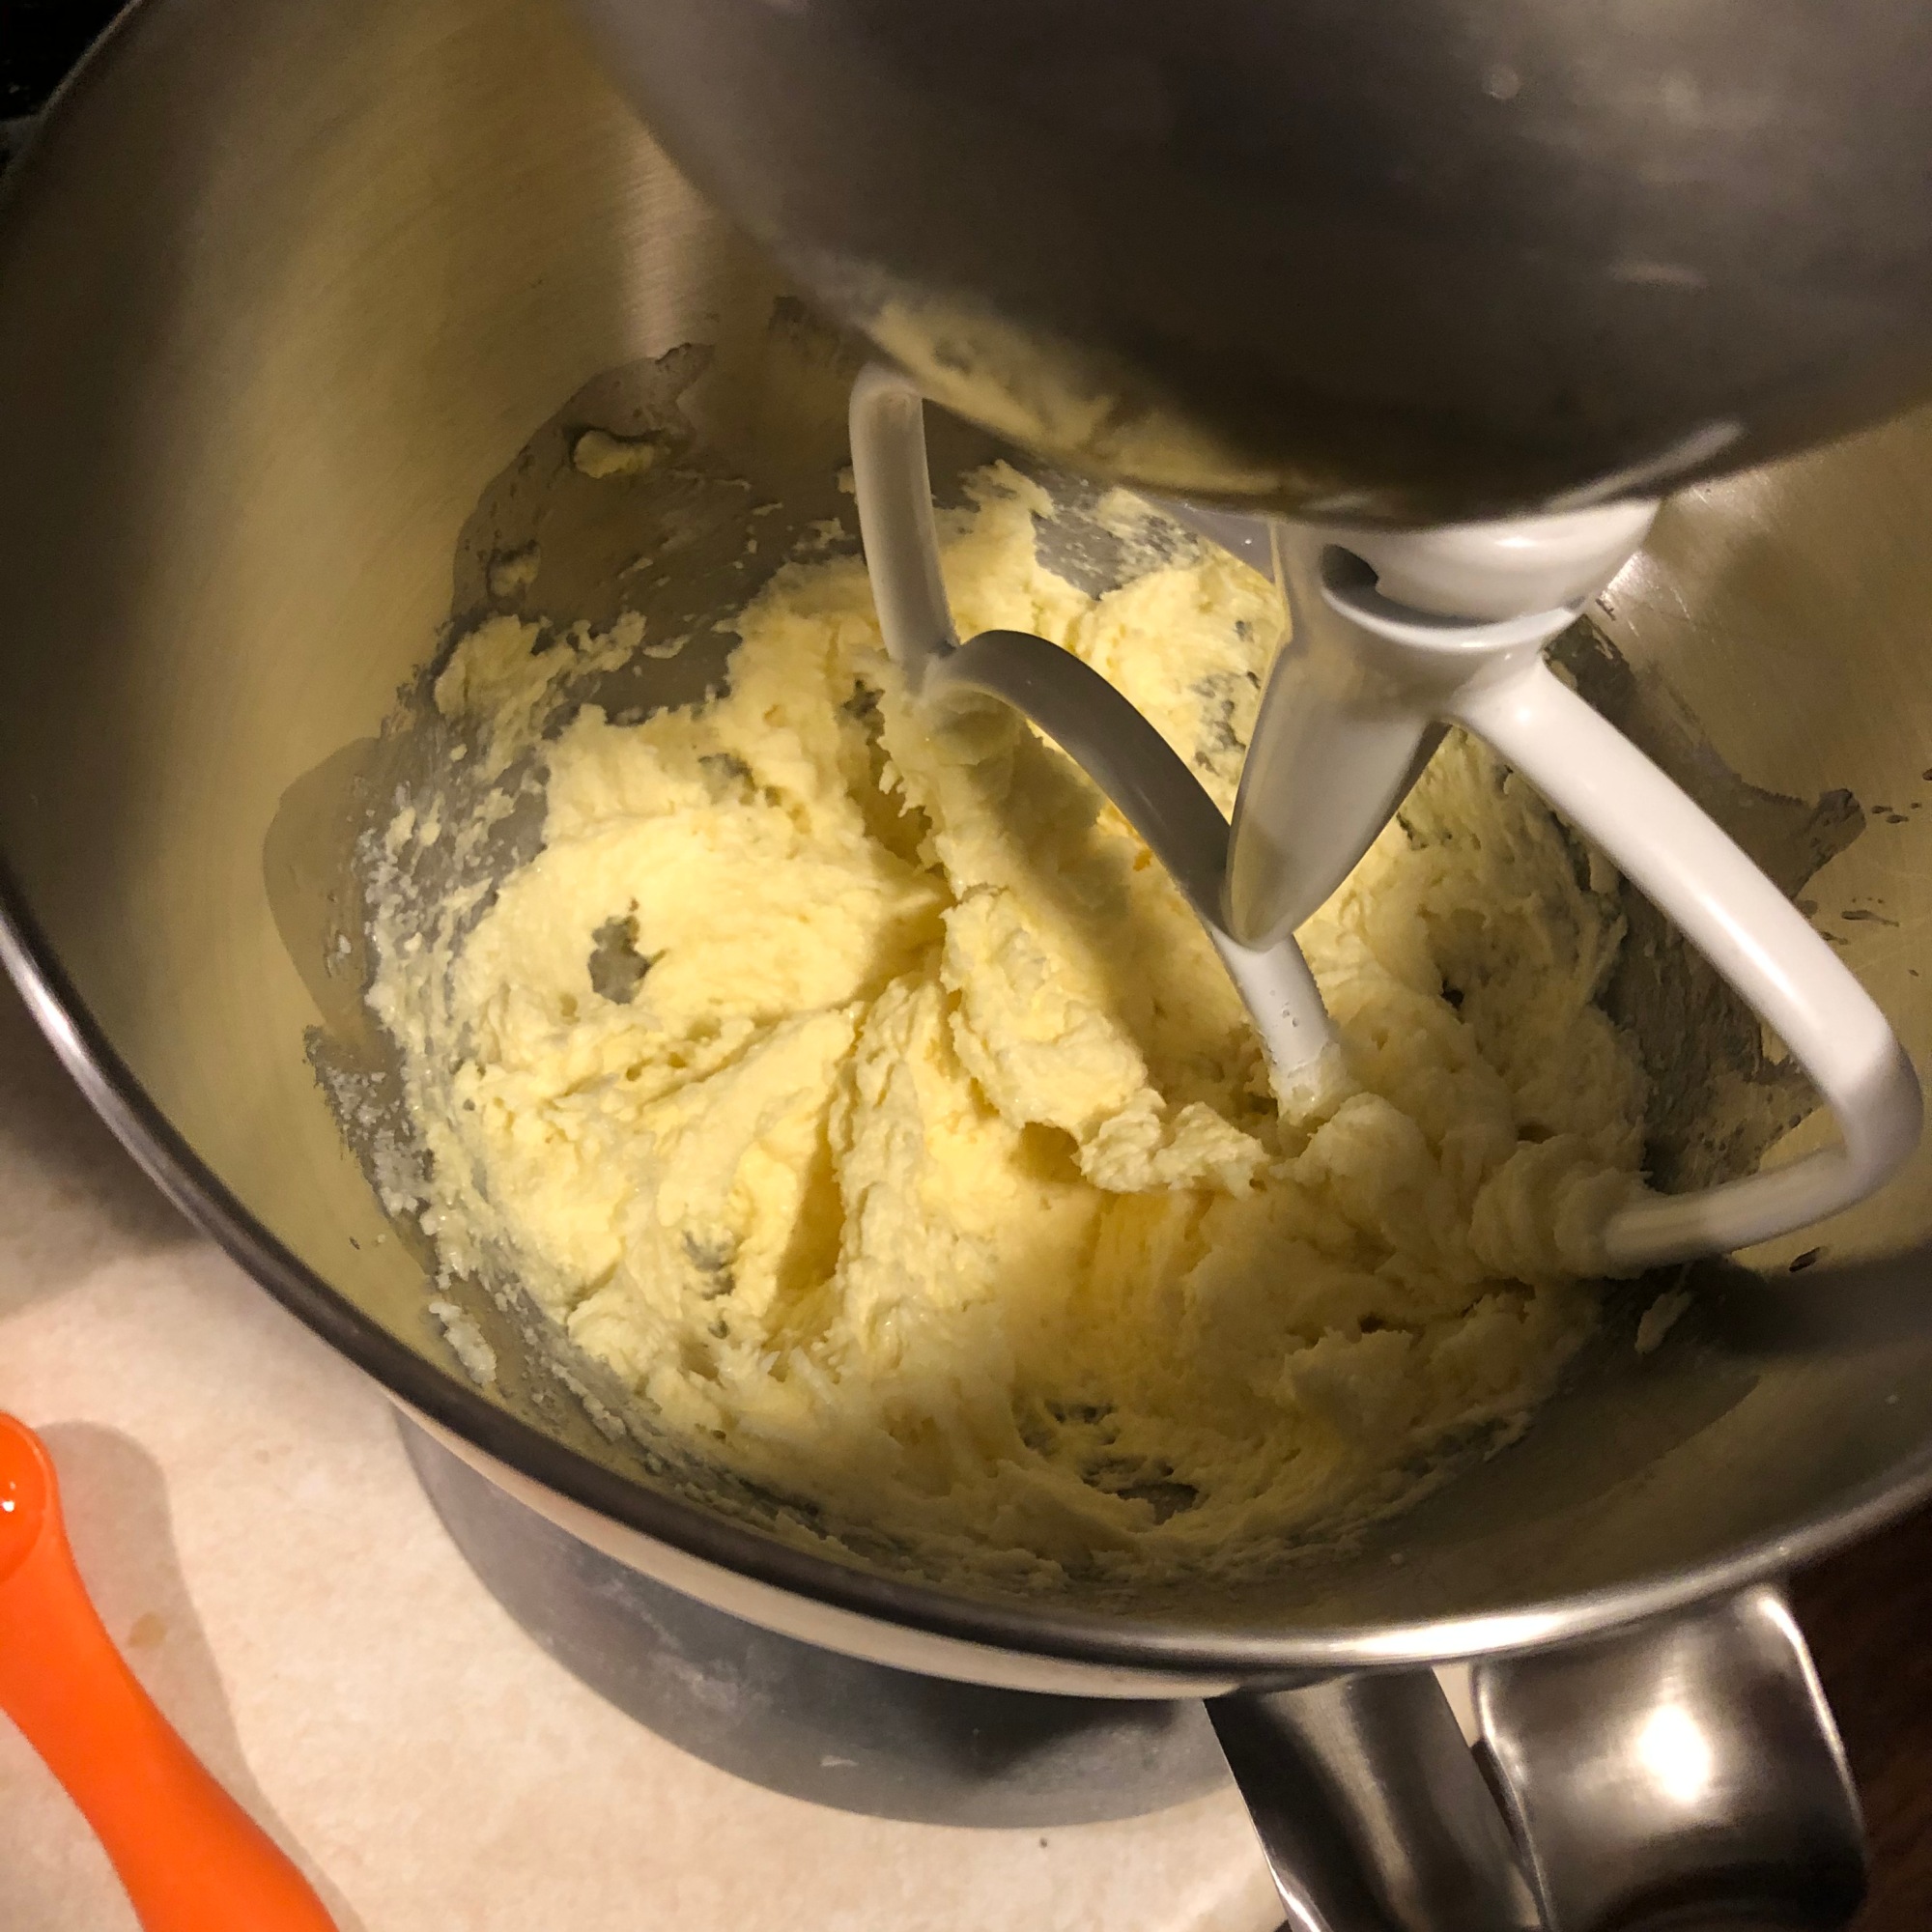
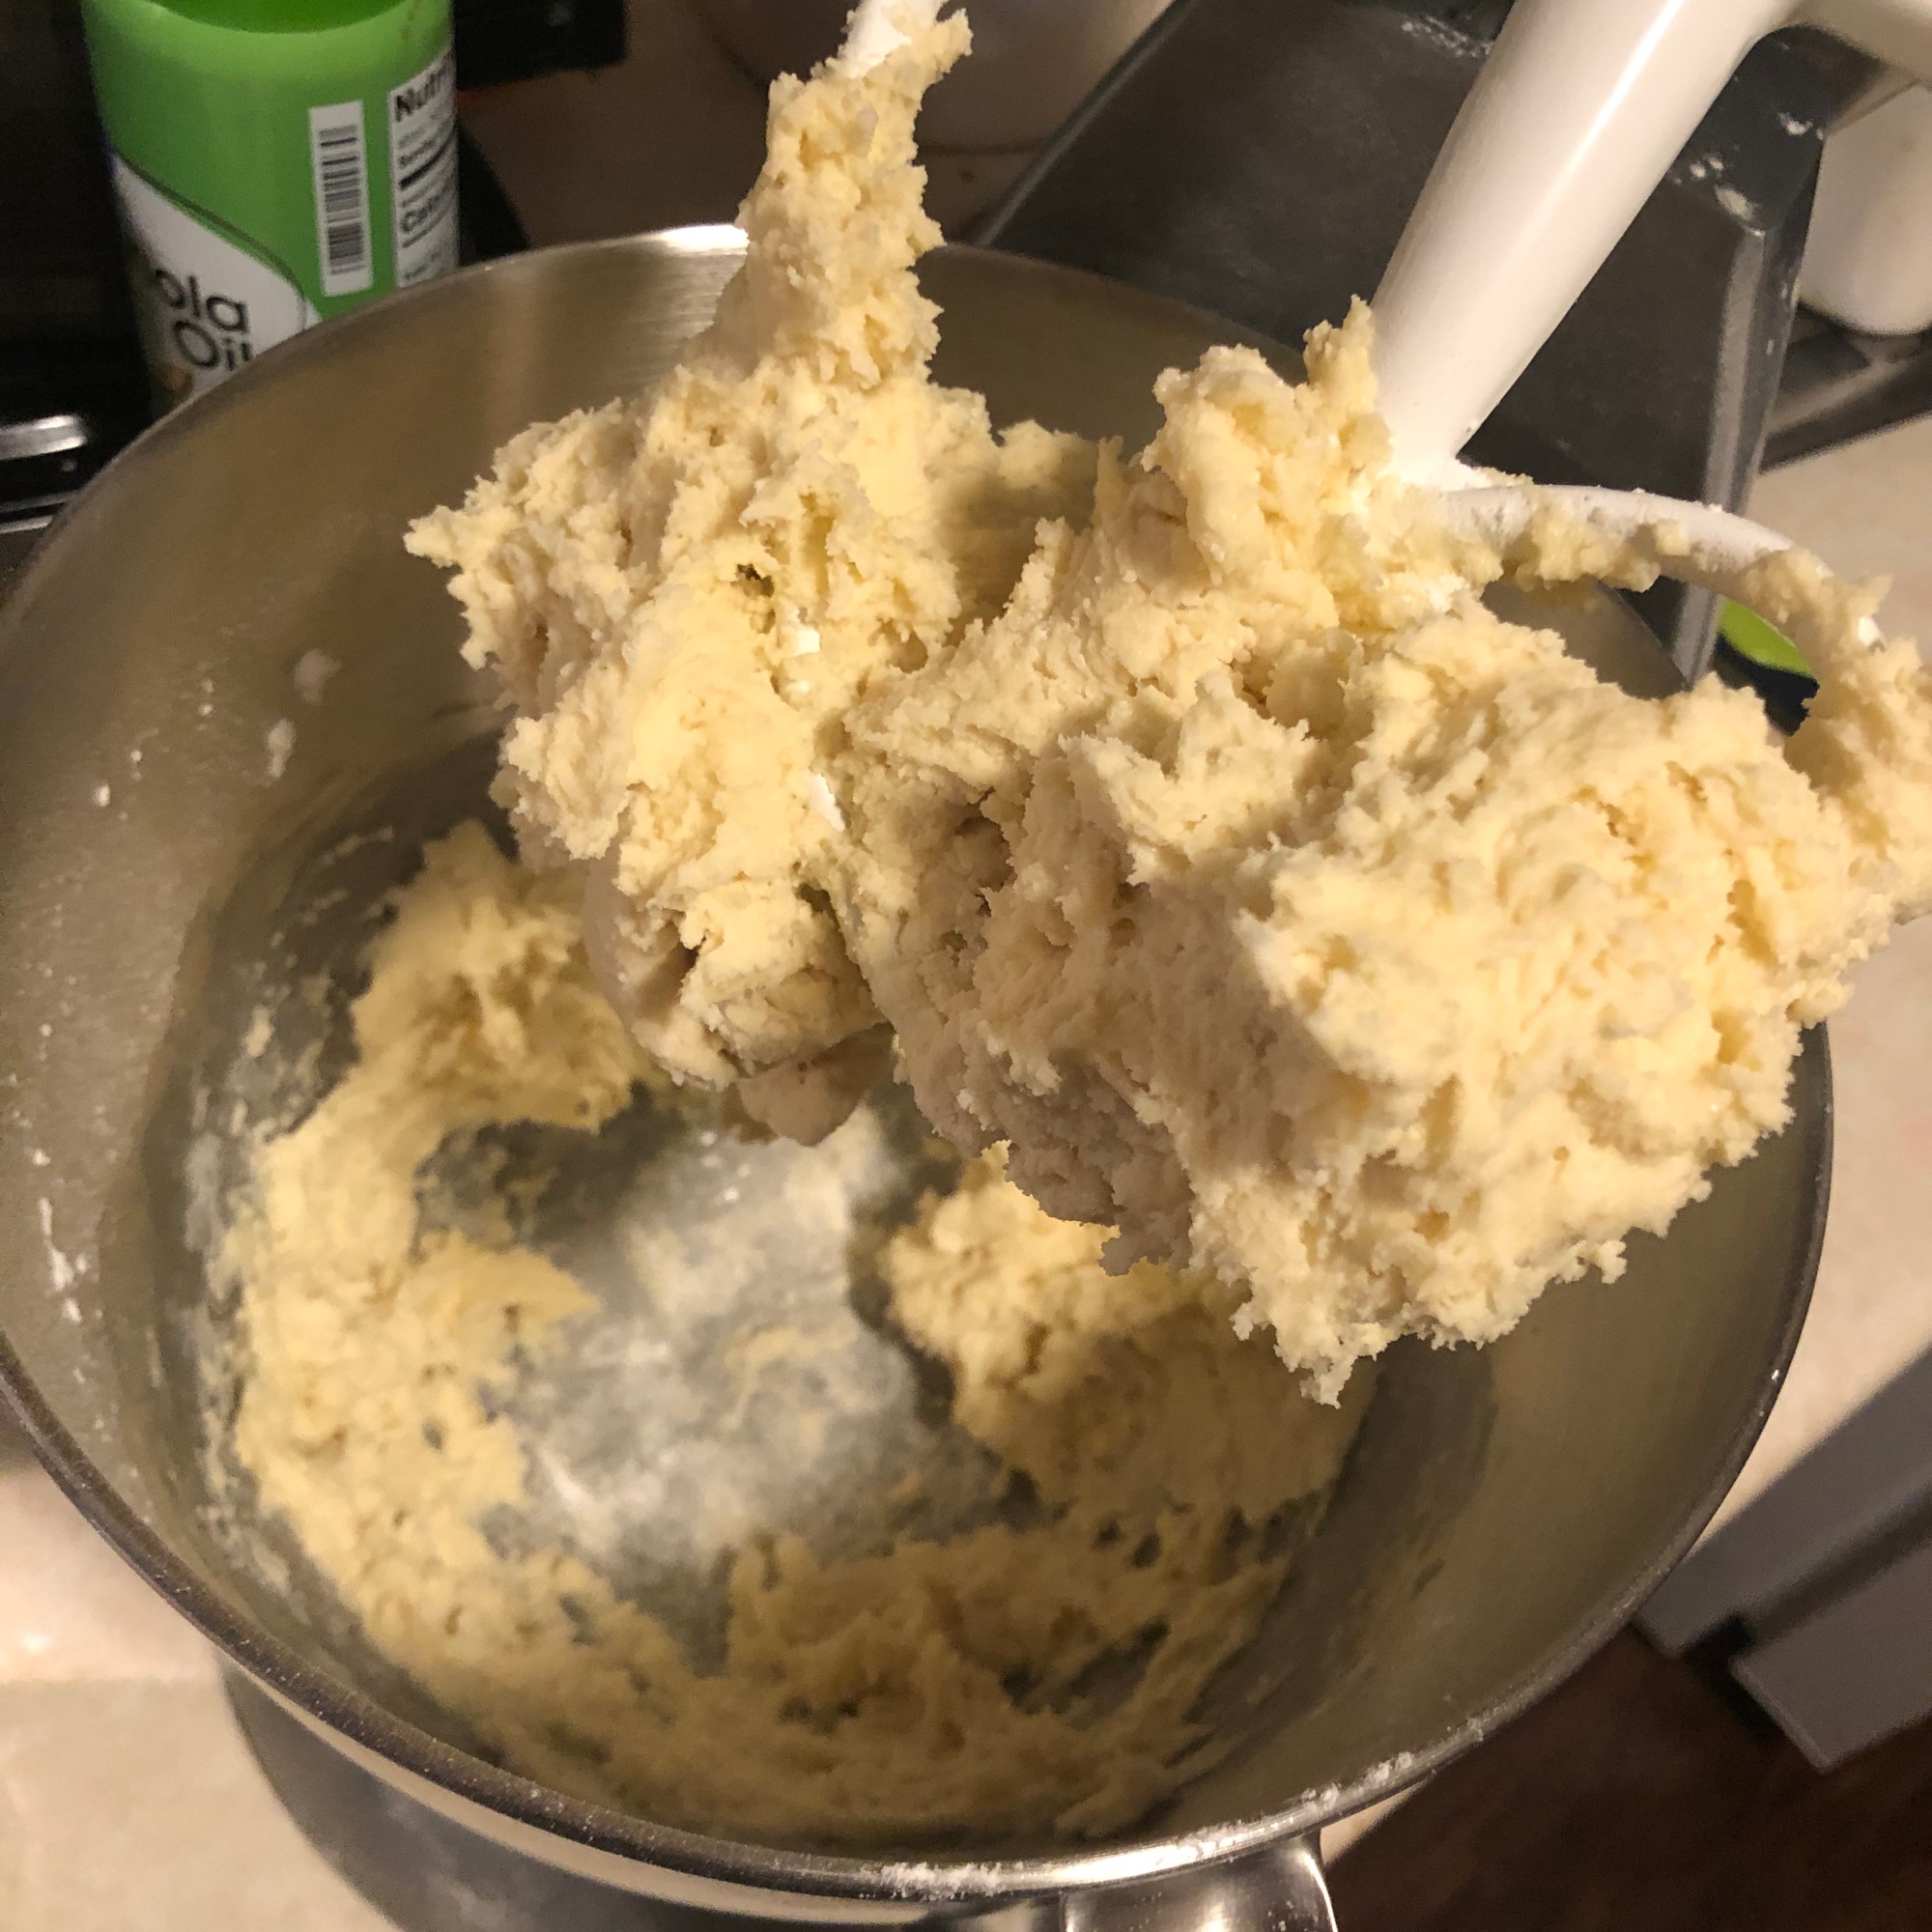
1. In a large bowl, cream butter and sugar together until fluffy. Beat in egg and vanilla.
2. In a separate bowl, whisk together sifted flour, baking powder, and salt. Mix the flour mixture into the butter mixture in 3 additions.
4. Shape the dough into a disc and wrap with plastic (it will be very soft). Chill in the fridge until firm, 2 hours.
5. On a lightly floured work surface, roll out the dough to approximately 1/4″ thick and cut out cookies using a cutter (again, how many cookies you get will depend on what size you use. If you don’t have a cookie cutter, a wine glass will also work).
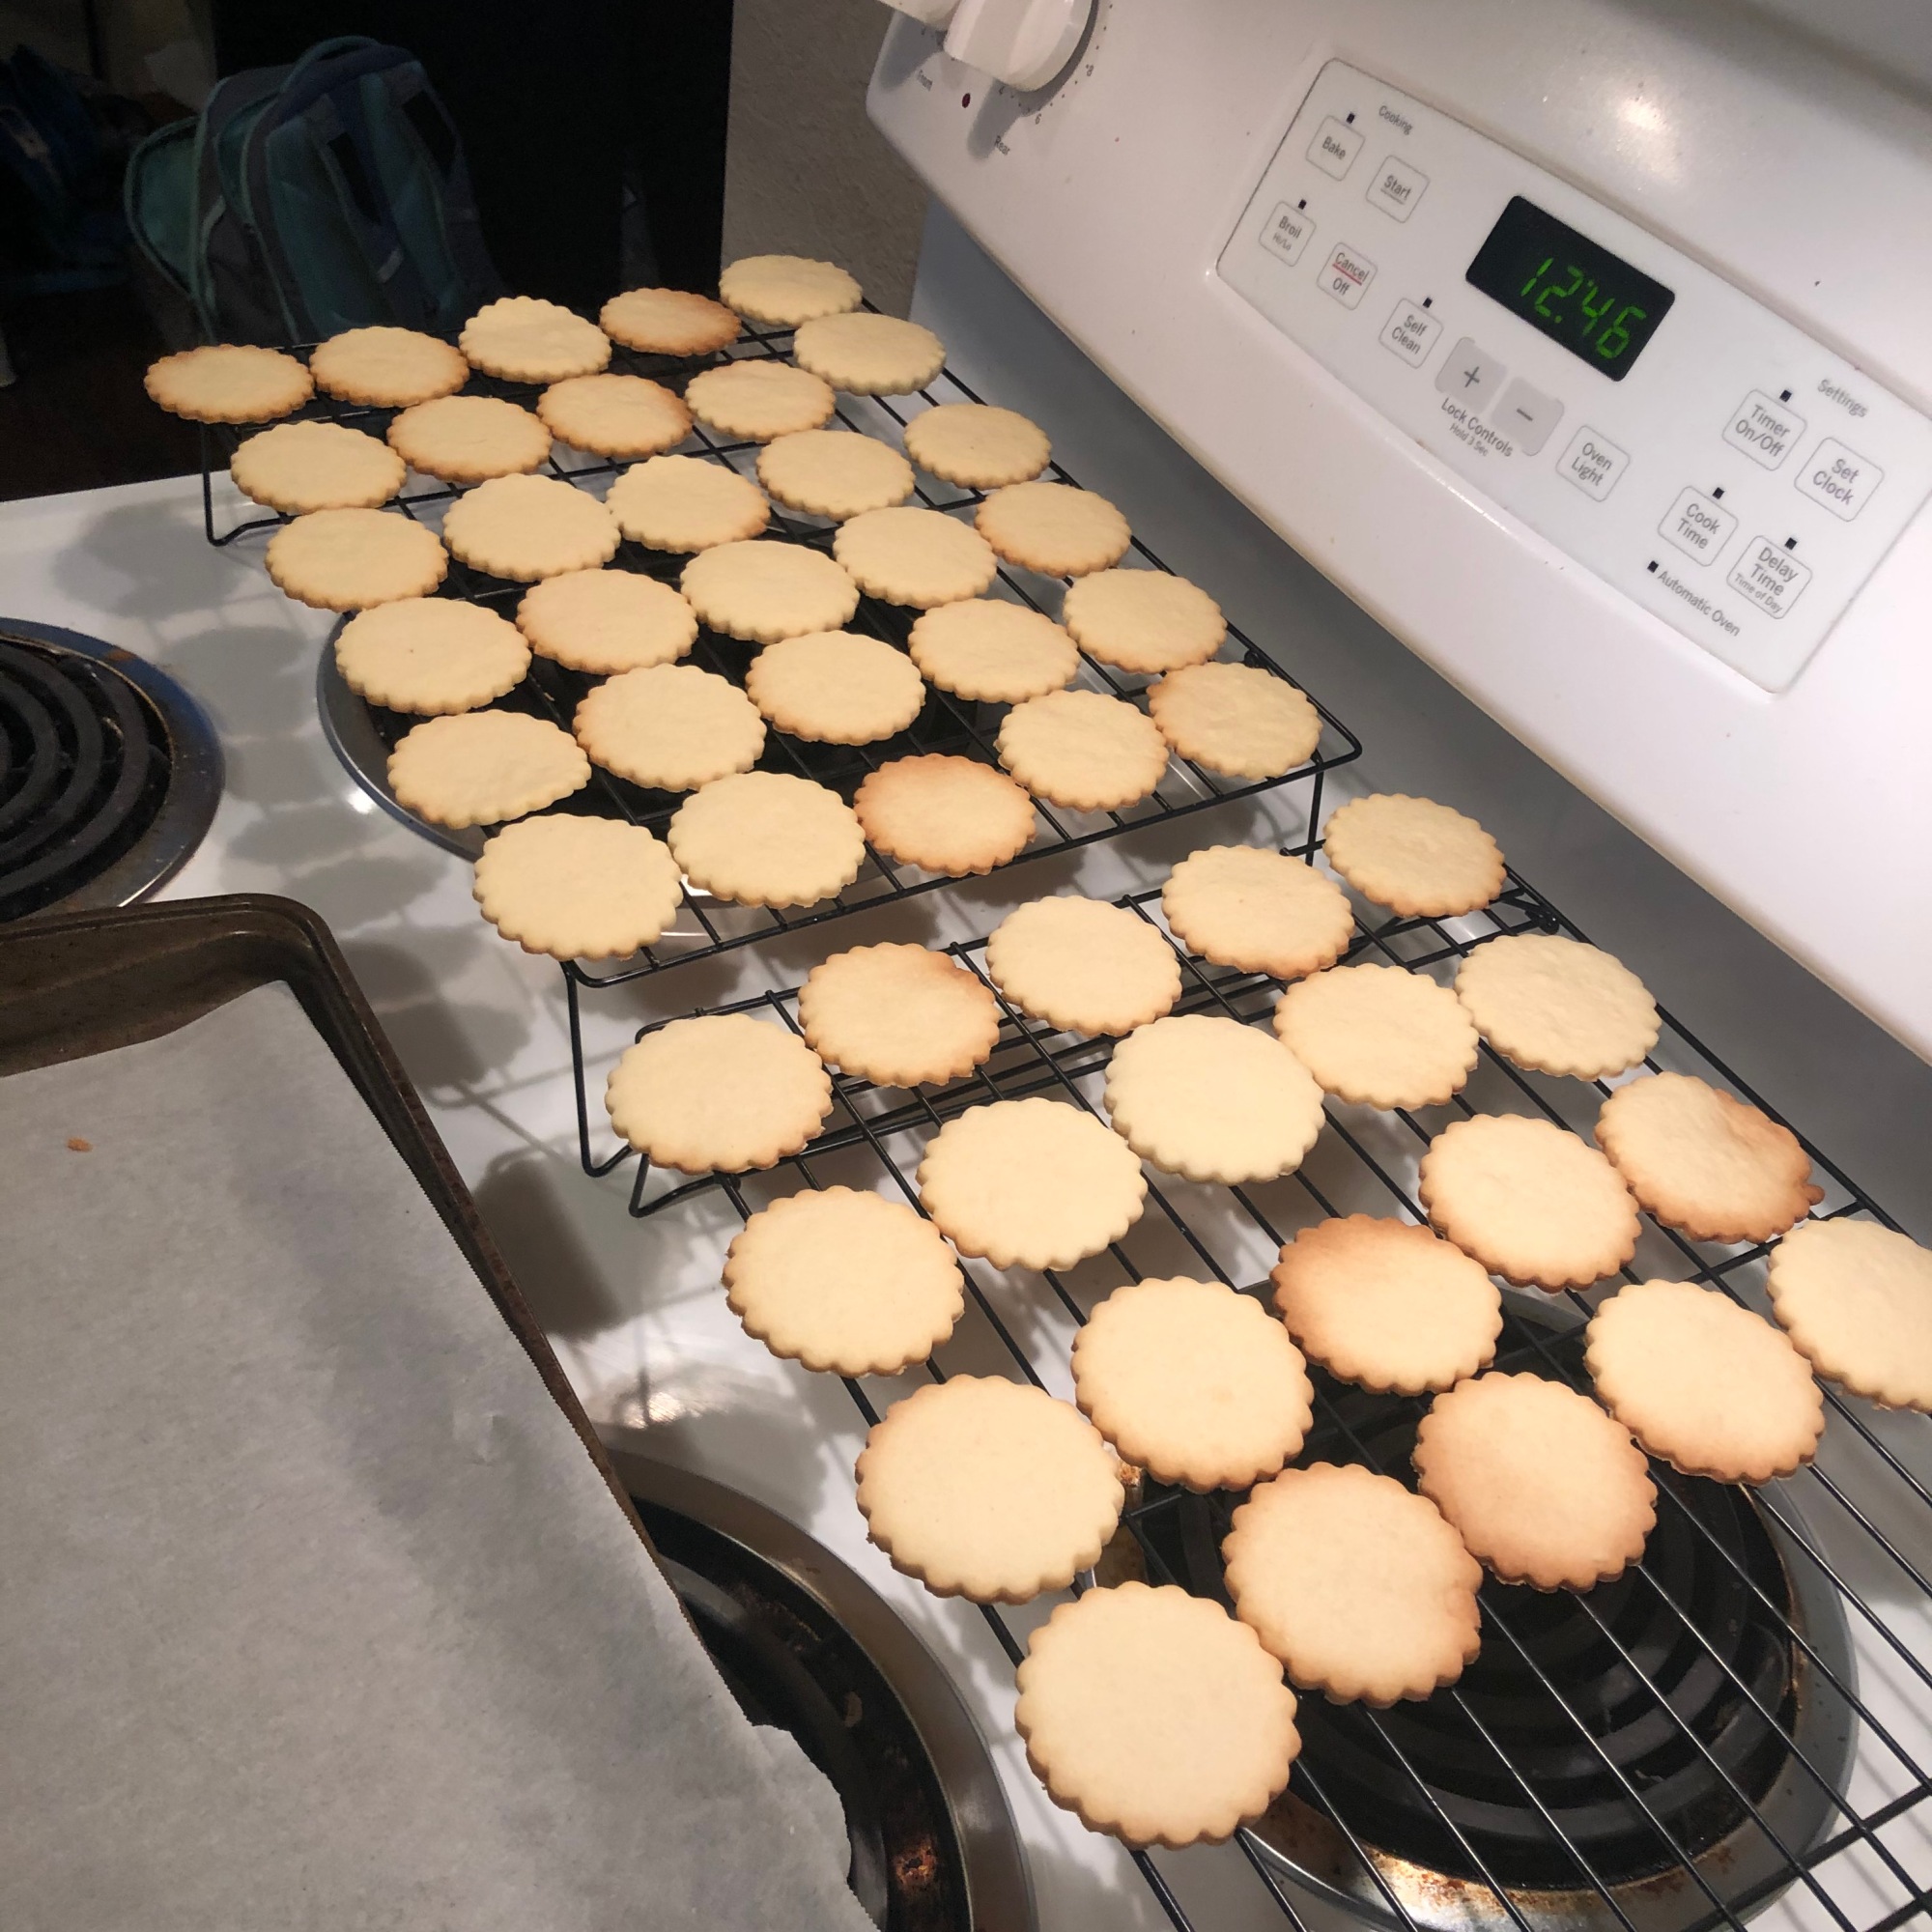
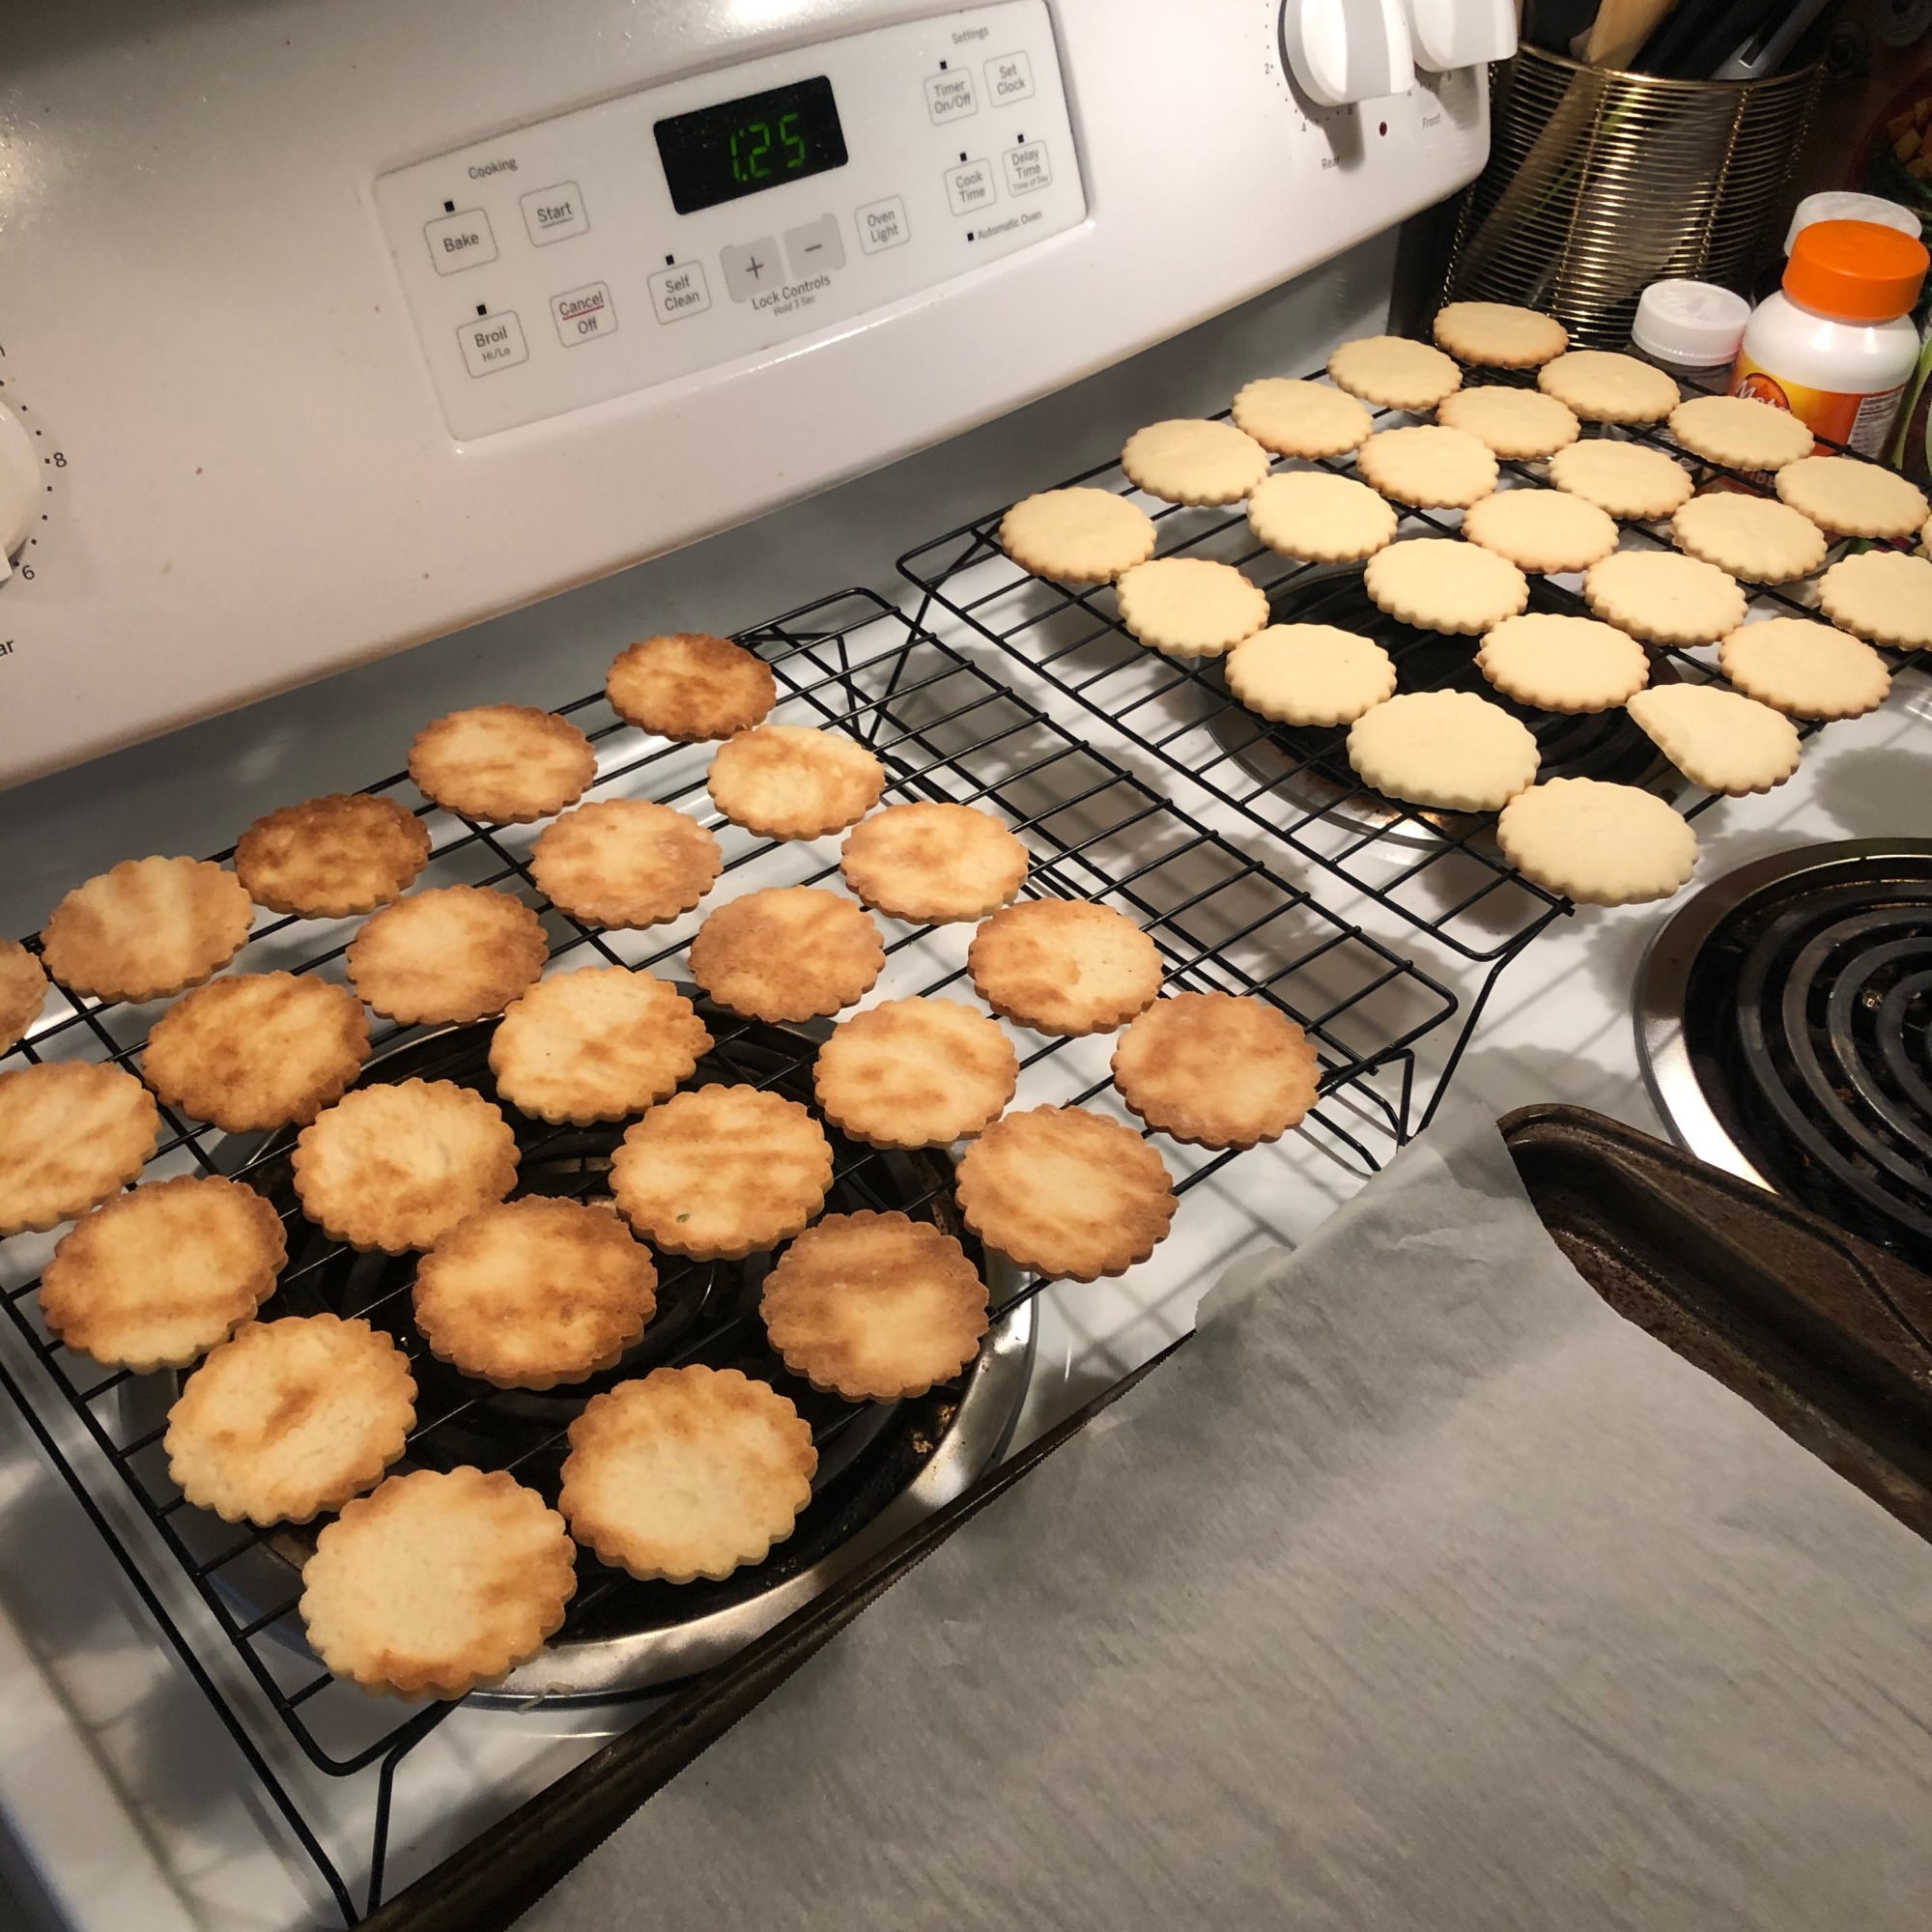
6. Place cookies on a prepared baking tray and bake at 350 for 10 minutes or so until edges are light golden. Let cool on a wire rack for 5 minutes.
7. Decide which cookies are top cookies and which ones are bottom cookies. I personally put the “deep golden” cookies on the bottom but it’s up to you.
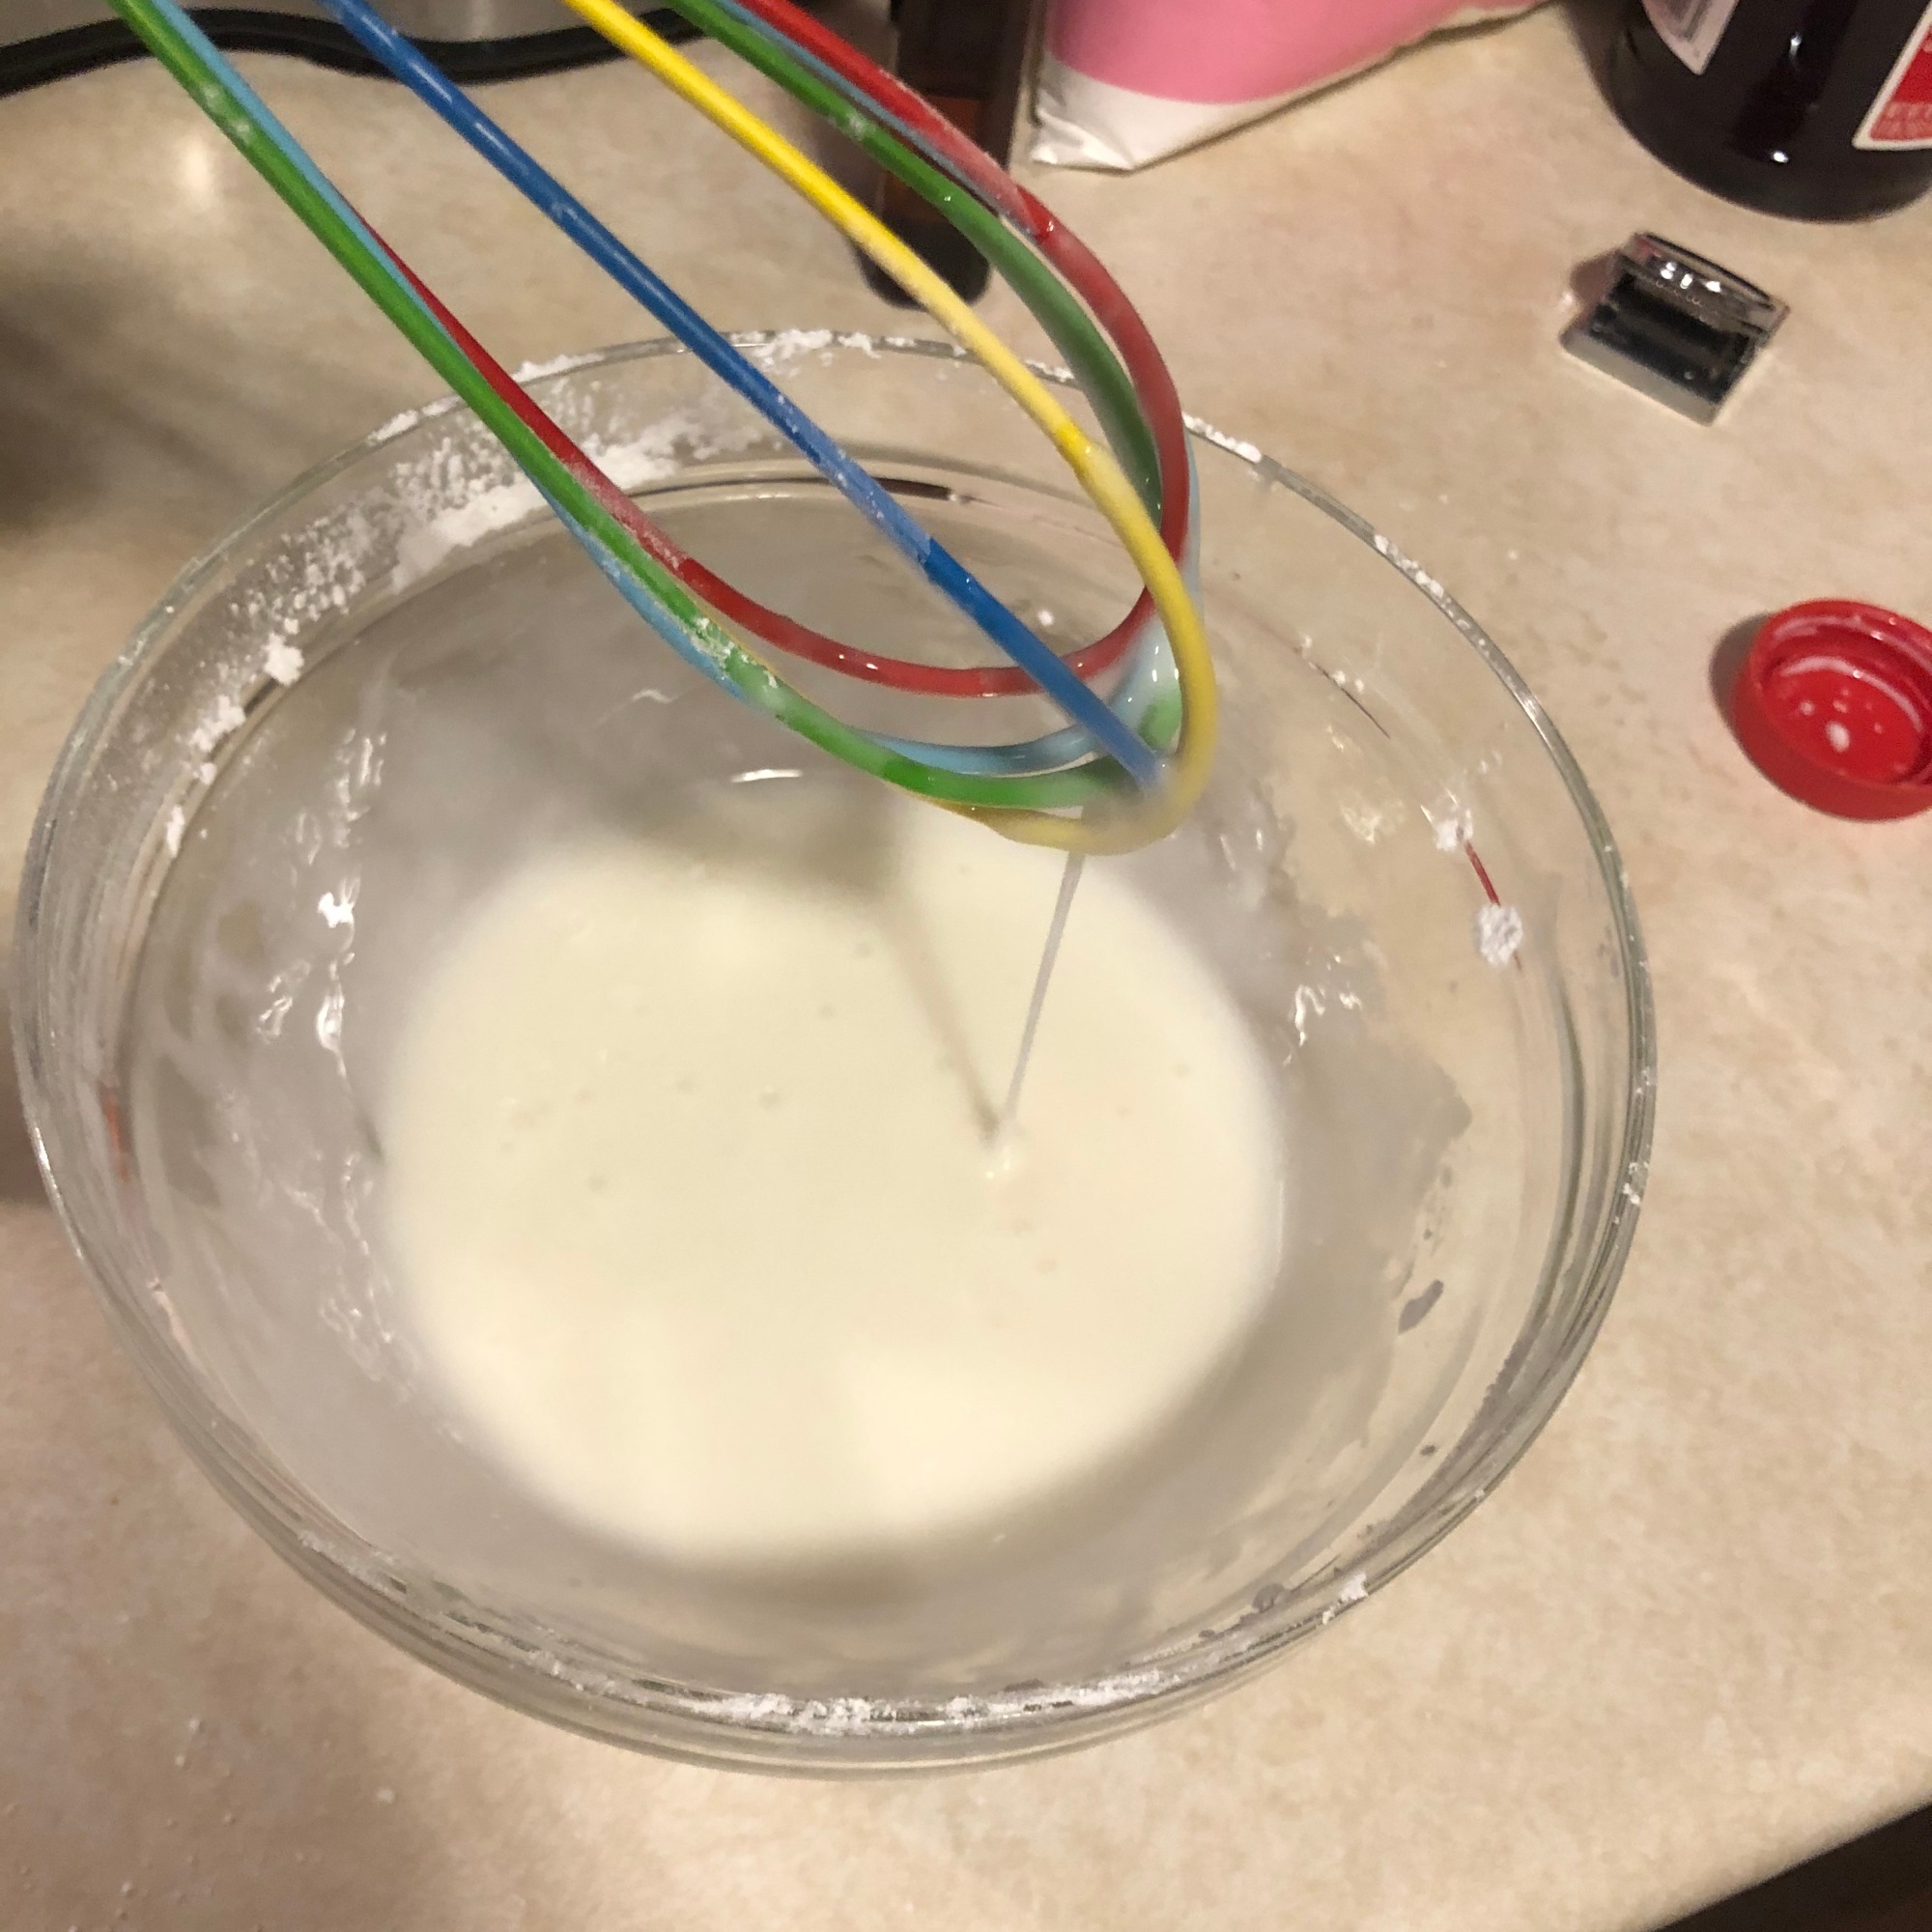
8. Make your icing. Combine your sifted icing sugar, almond extract, and begin adding your milk, 1 tbsp at a time, until you reach the desired consistency. It should be “medium” thick: runny enough so that it will easily cover the top of the cookie, but not so runny that it will soak into the cookie easily.
9. Dry off your maraschino cherries with a paper towel and halve them.
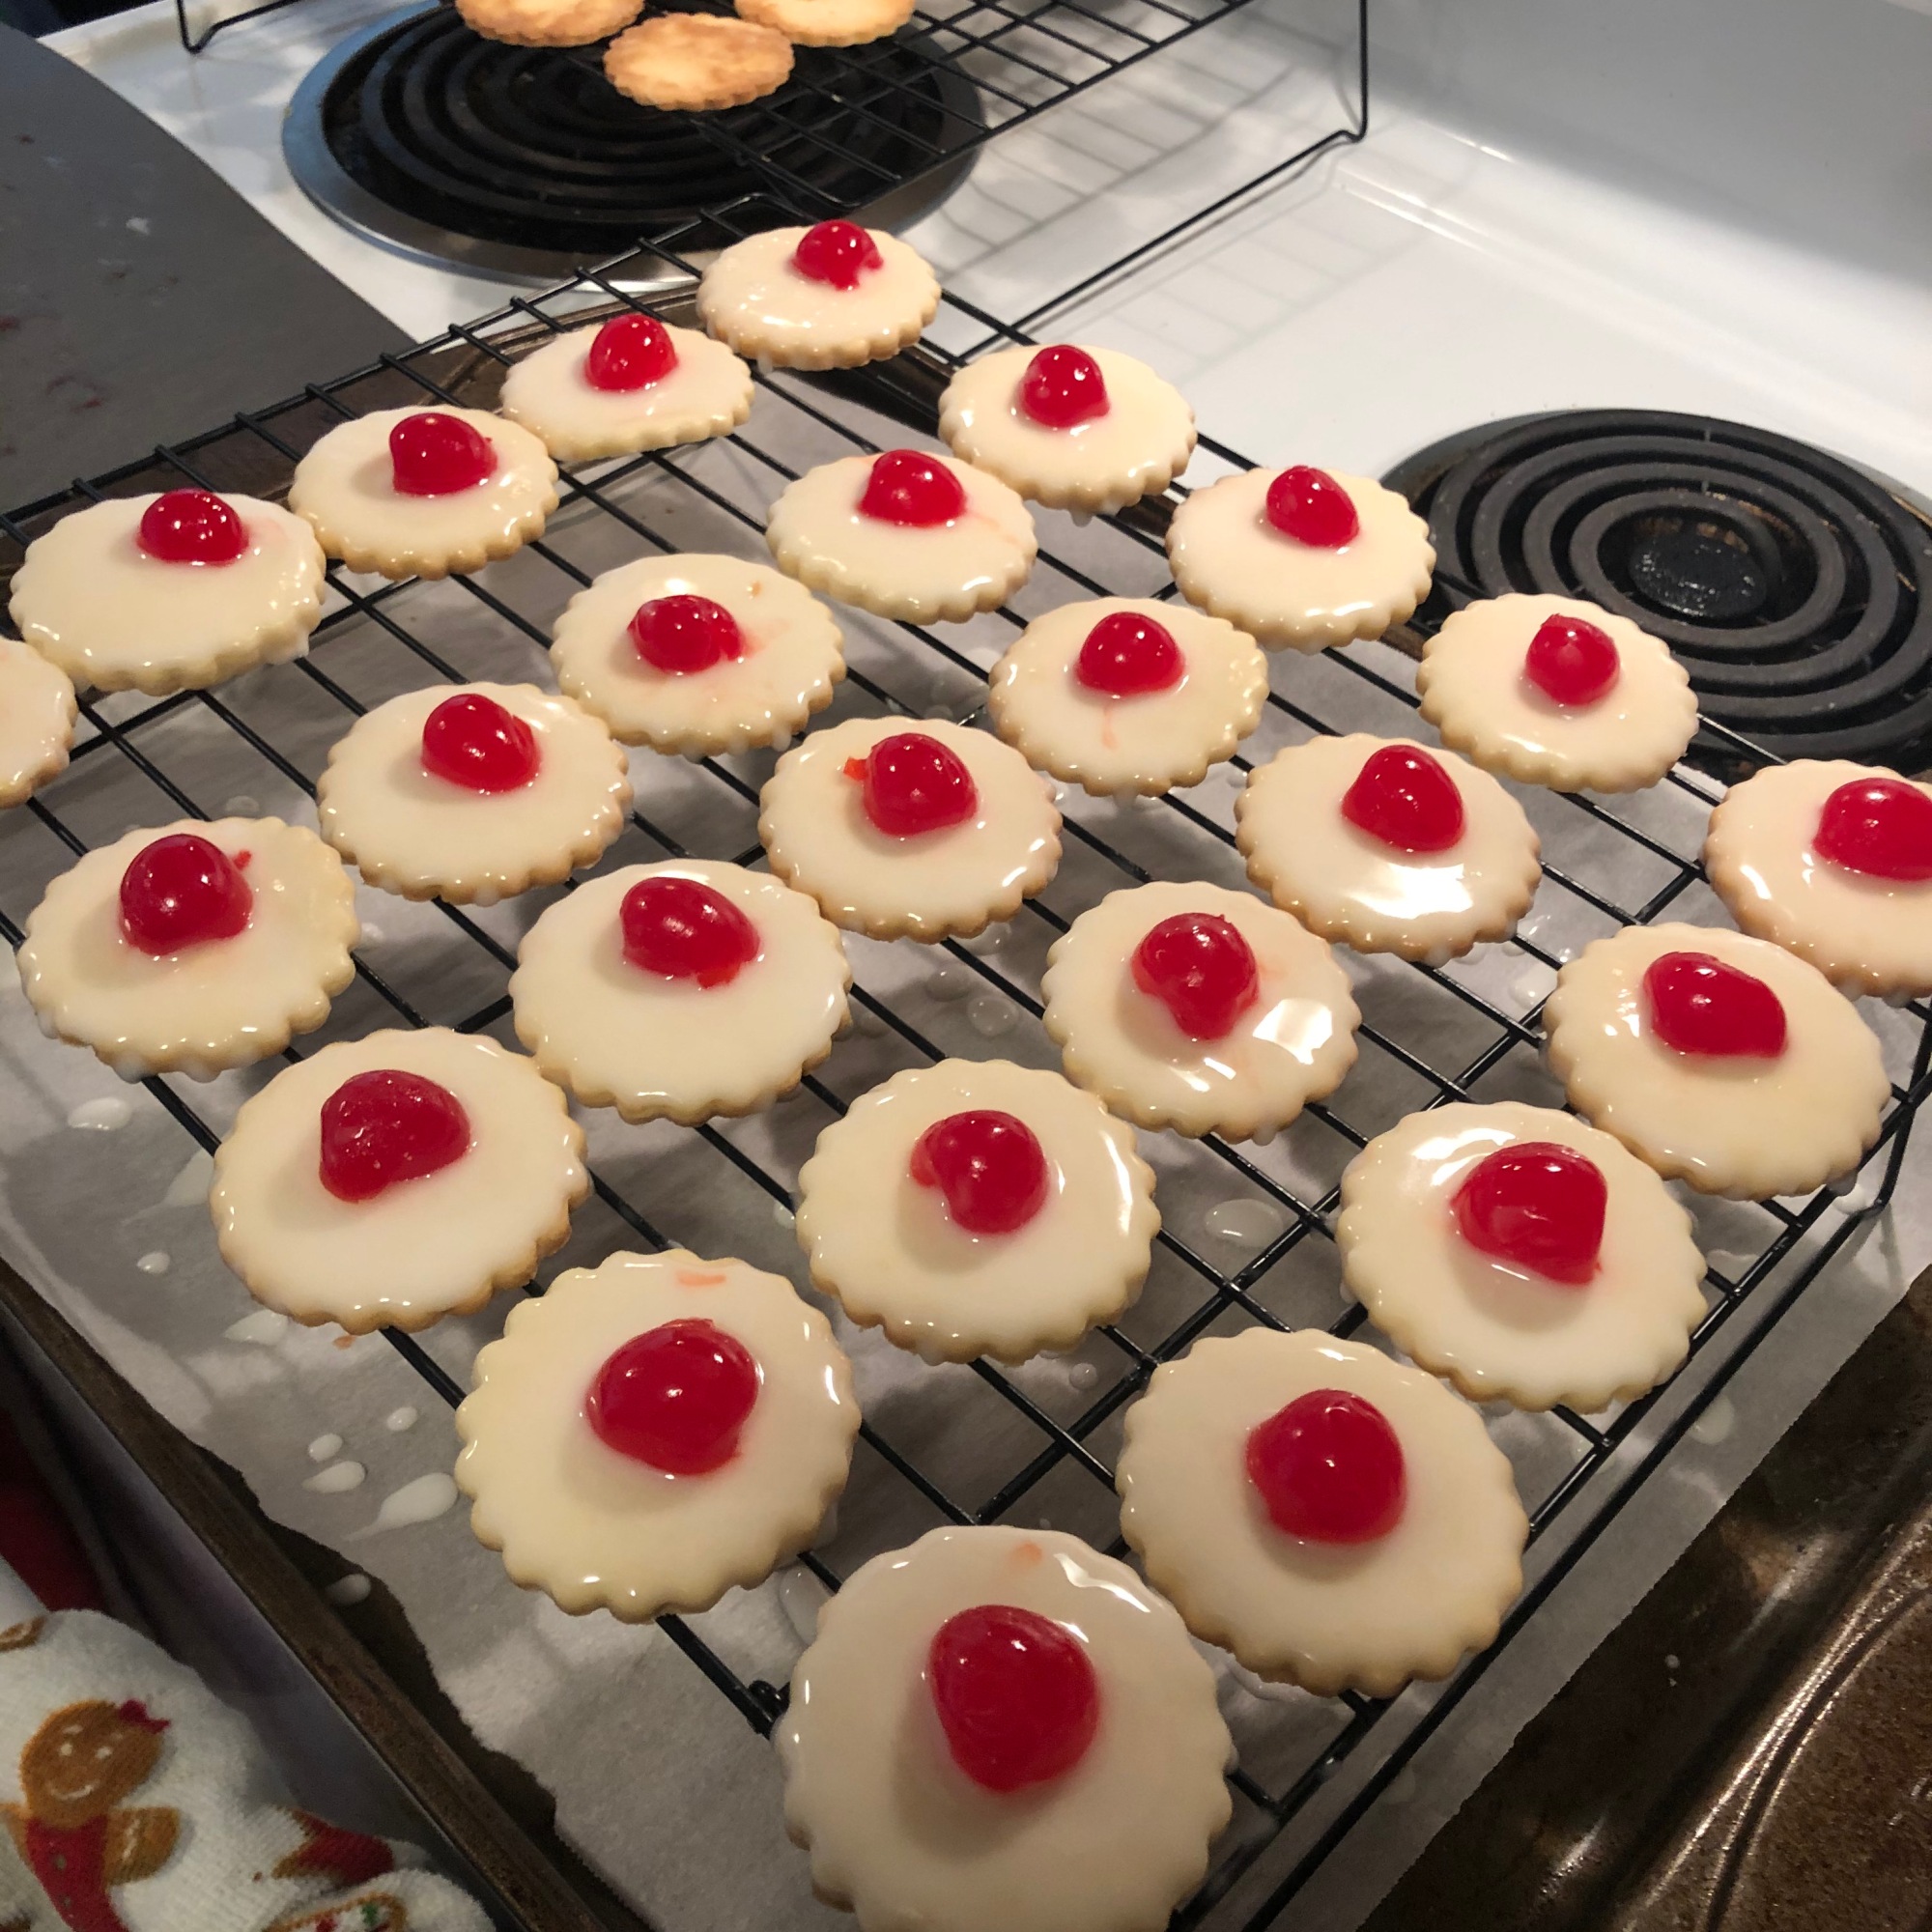
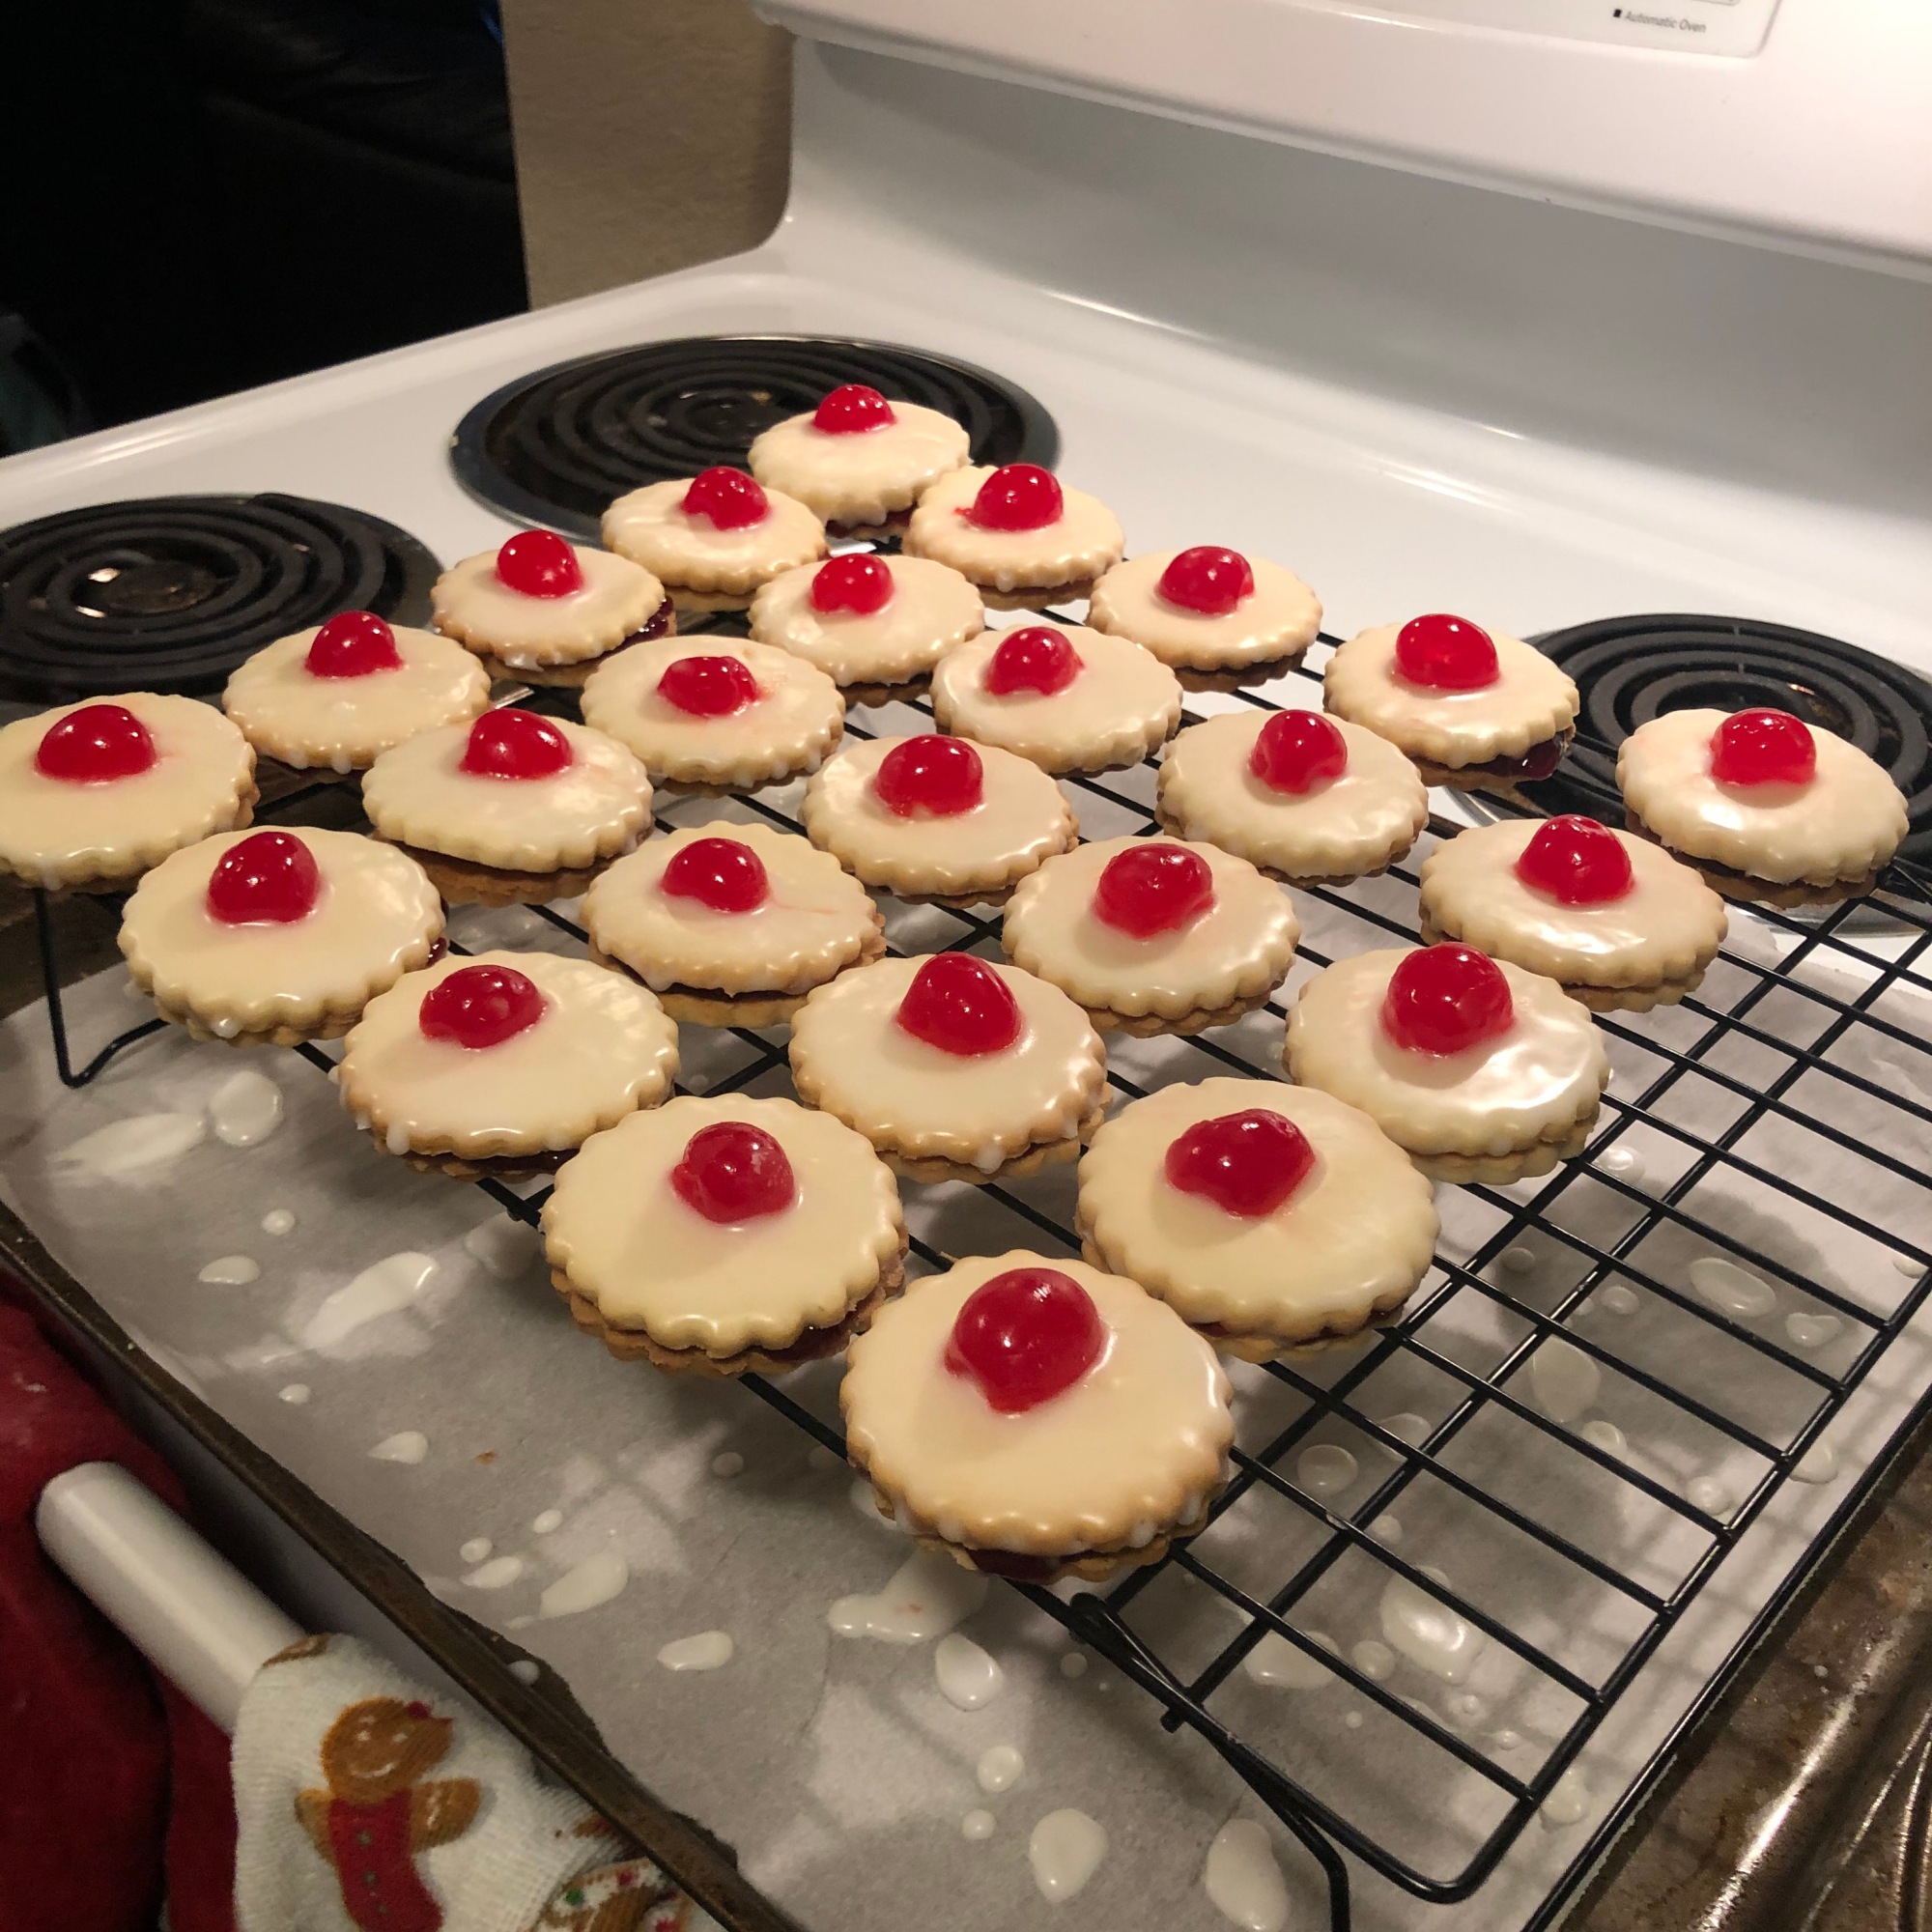
10. Dip the top of your “top” cookies into the icing and hold them over the bowl until the excess drips off. Put them back on the wire rack and place a half cherry, cut-side down, on top of the iced cookie. (Alternatively, you could spoon the icing on top of the “top” cookies, but I prefer this method.) Let the cookies set, 30-45 min.
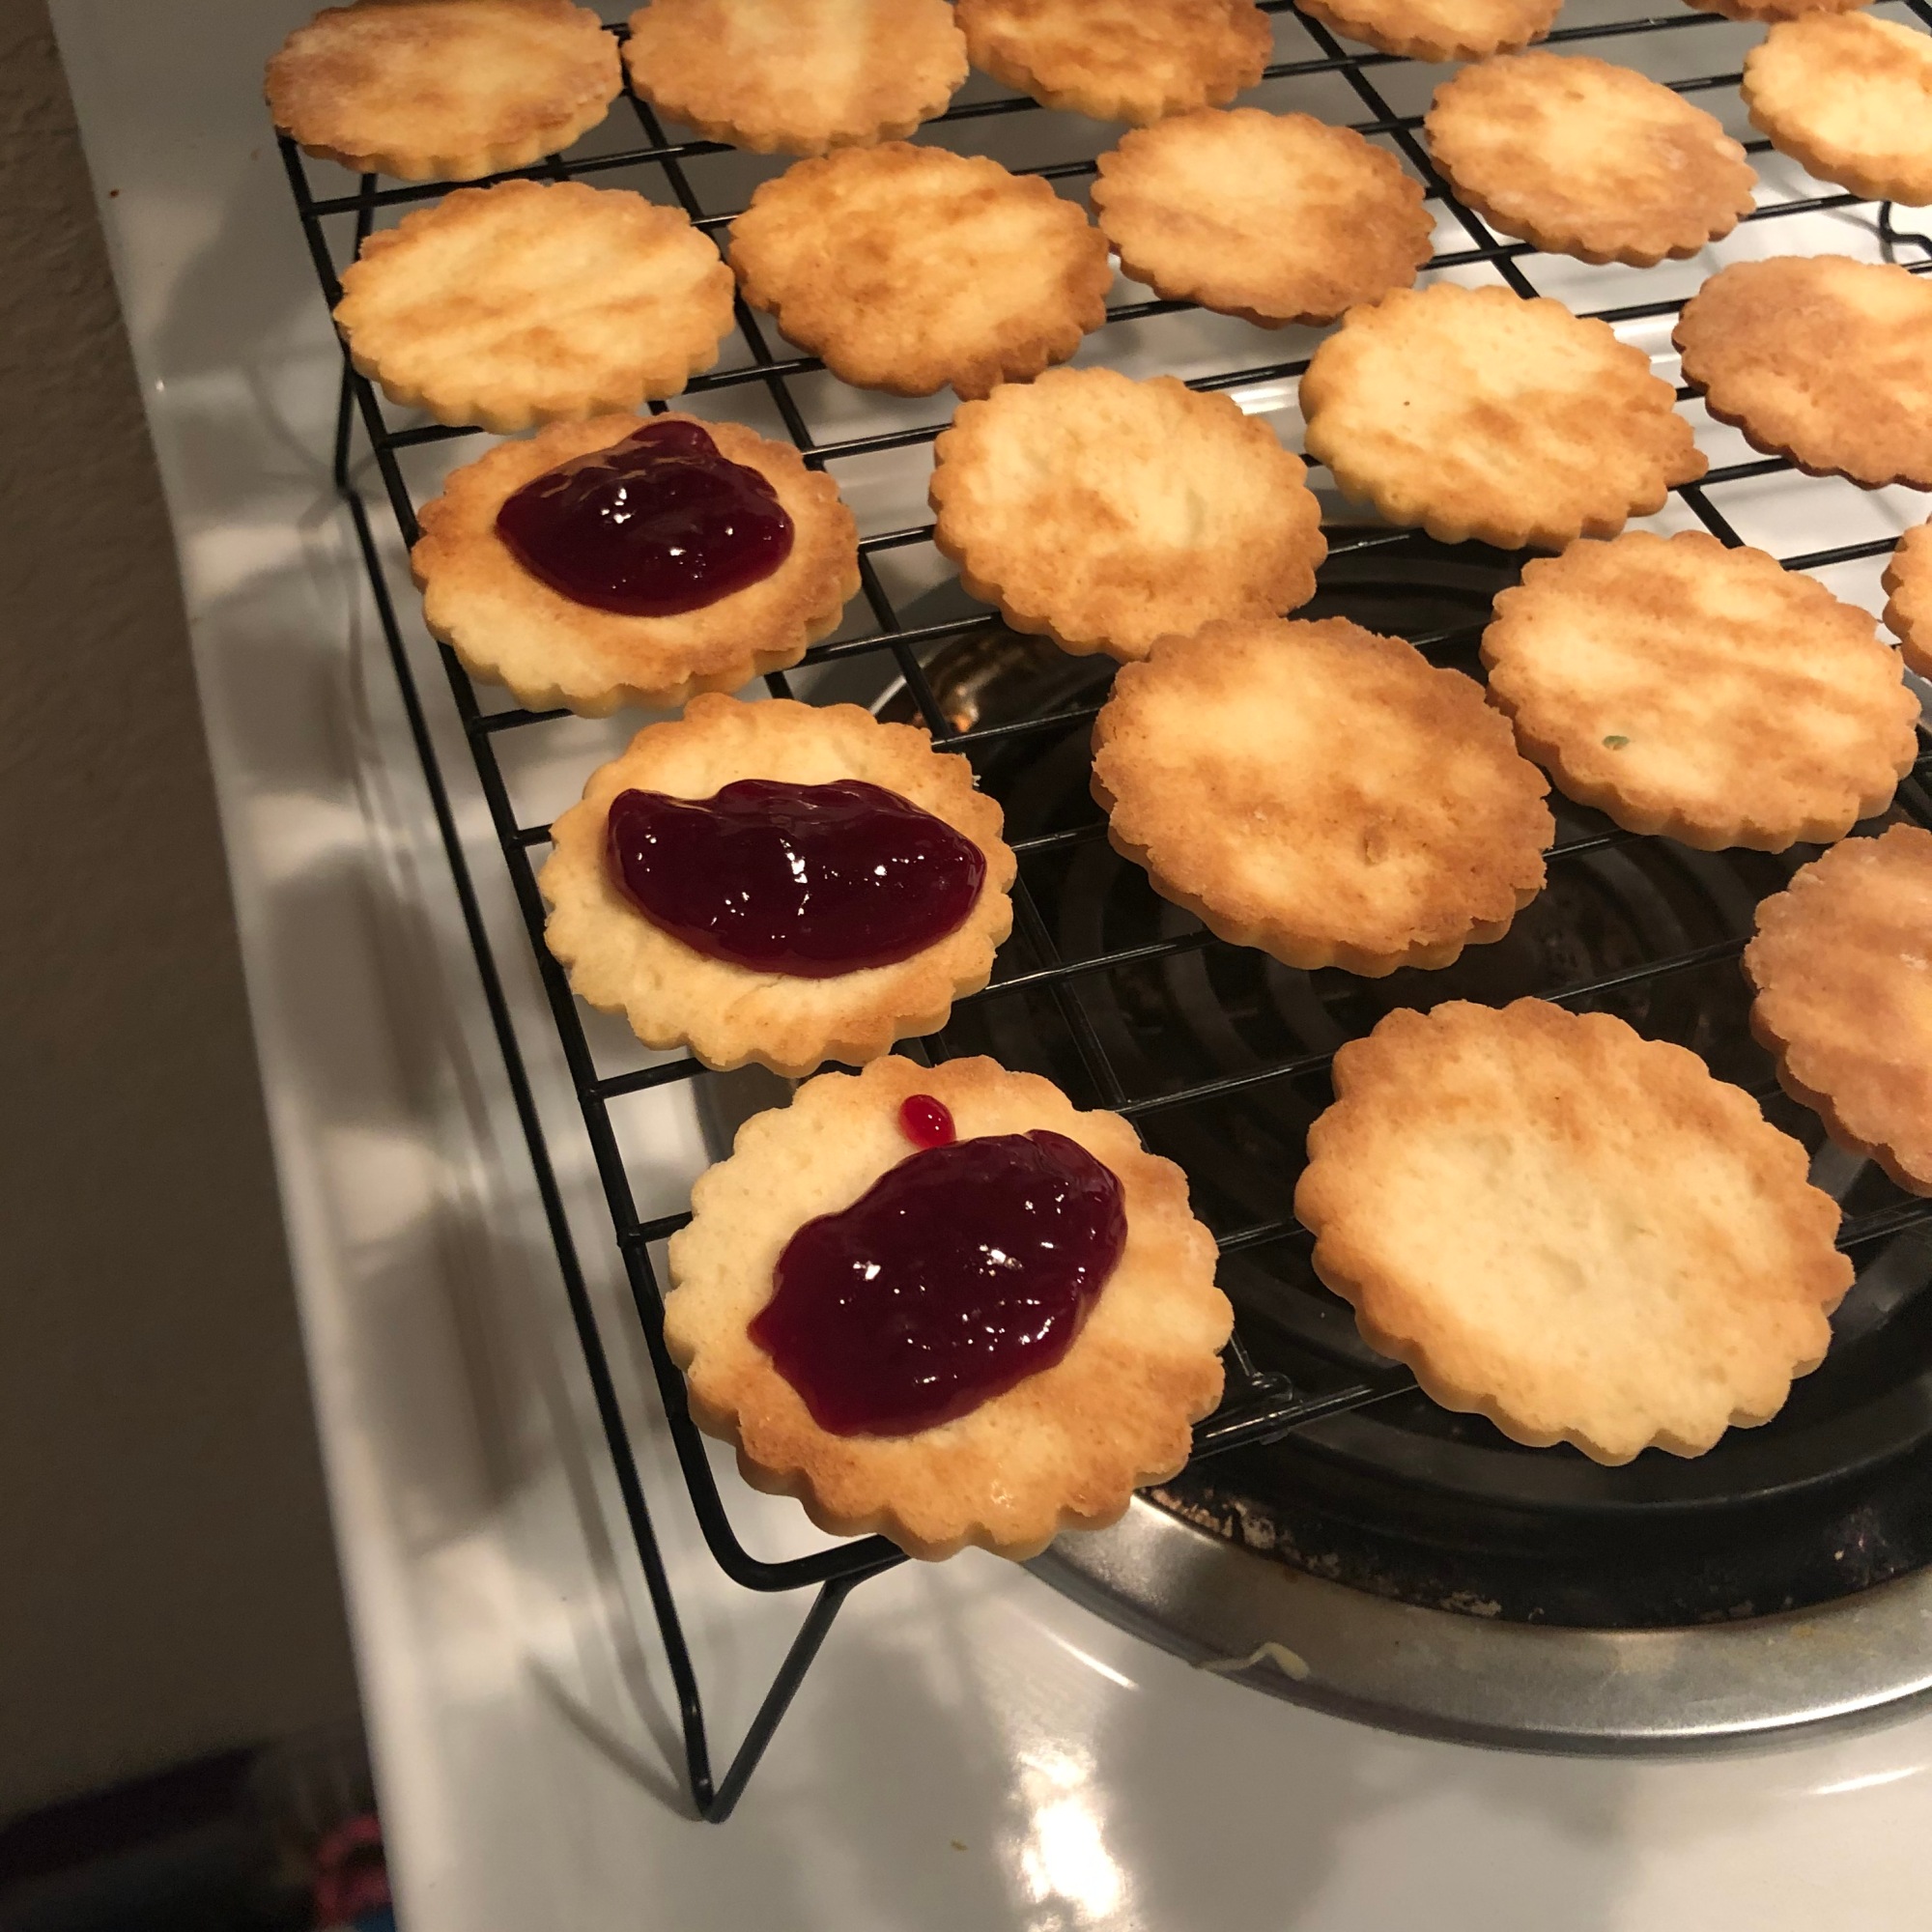
11. Flip your “bottom” cookies to be bottom-up and place a dollop of jam on each one (about a tsp or so). It helps to stir your jam a bit before placing it on the cookie; the stirring will loosen it.
12. Place the top cookie on top of the bottom cookie and gently press — not so hard that the jam squirts out, just enough to cement it together.
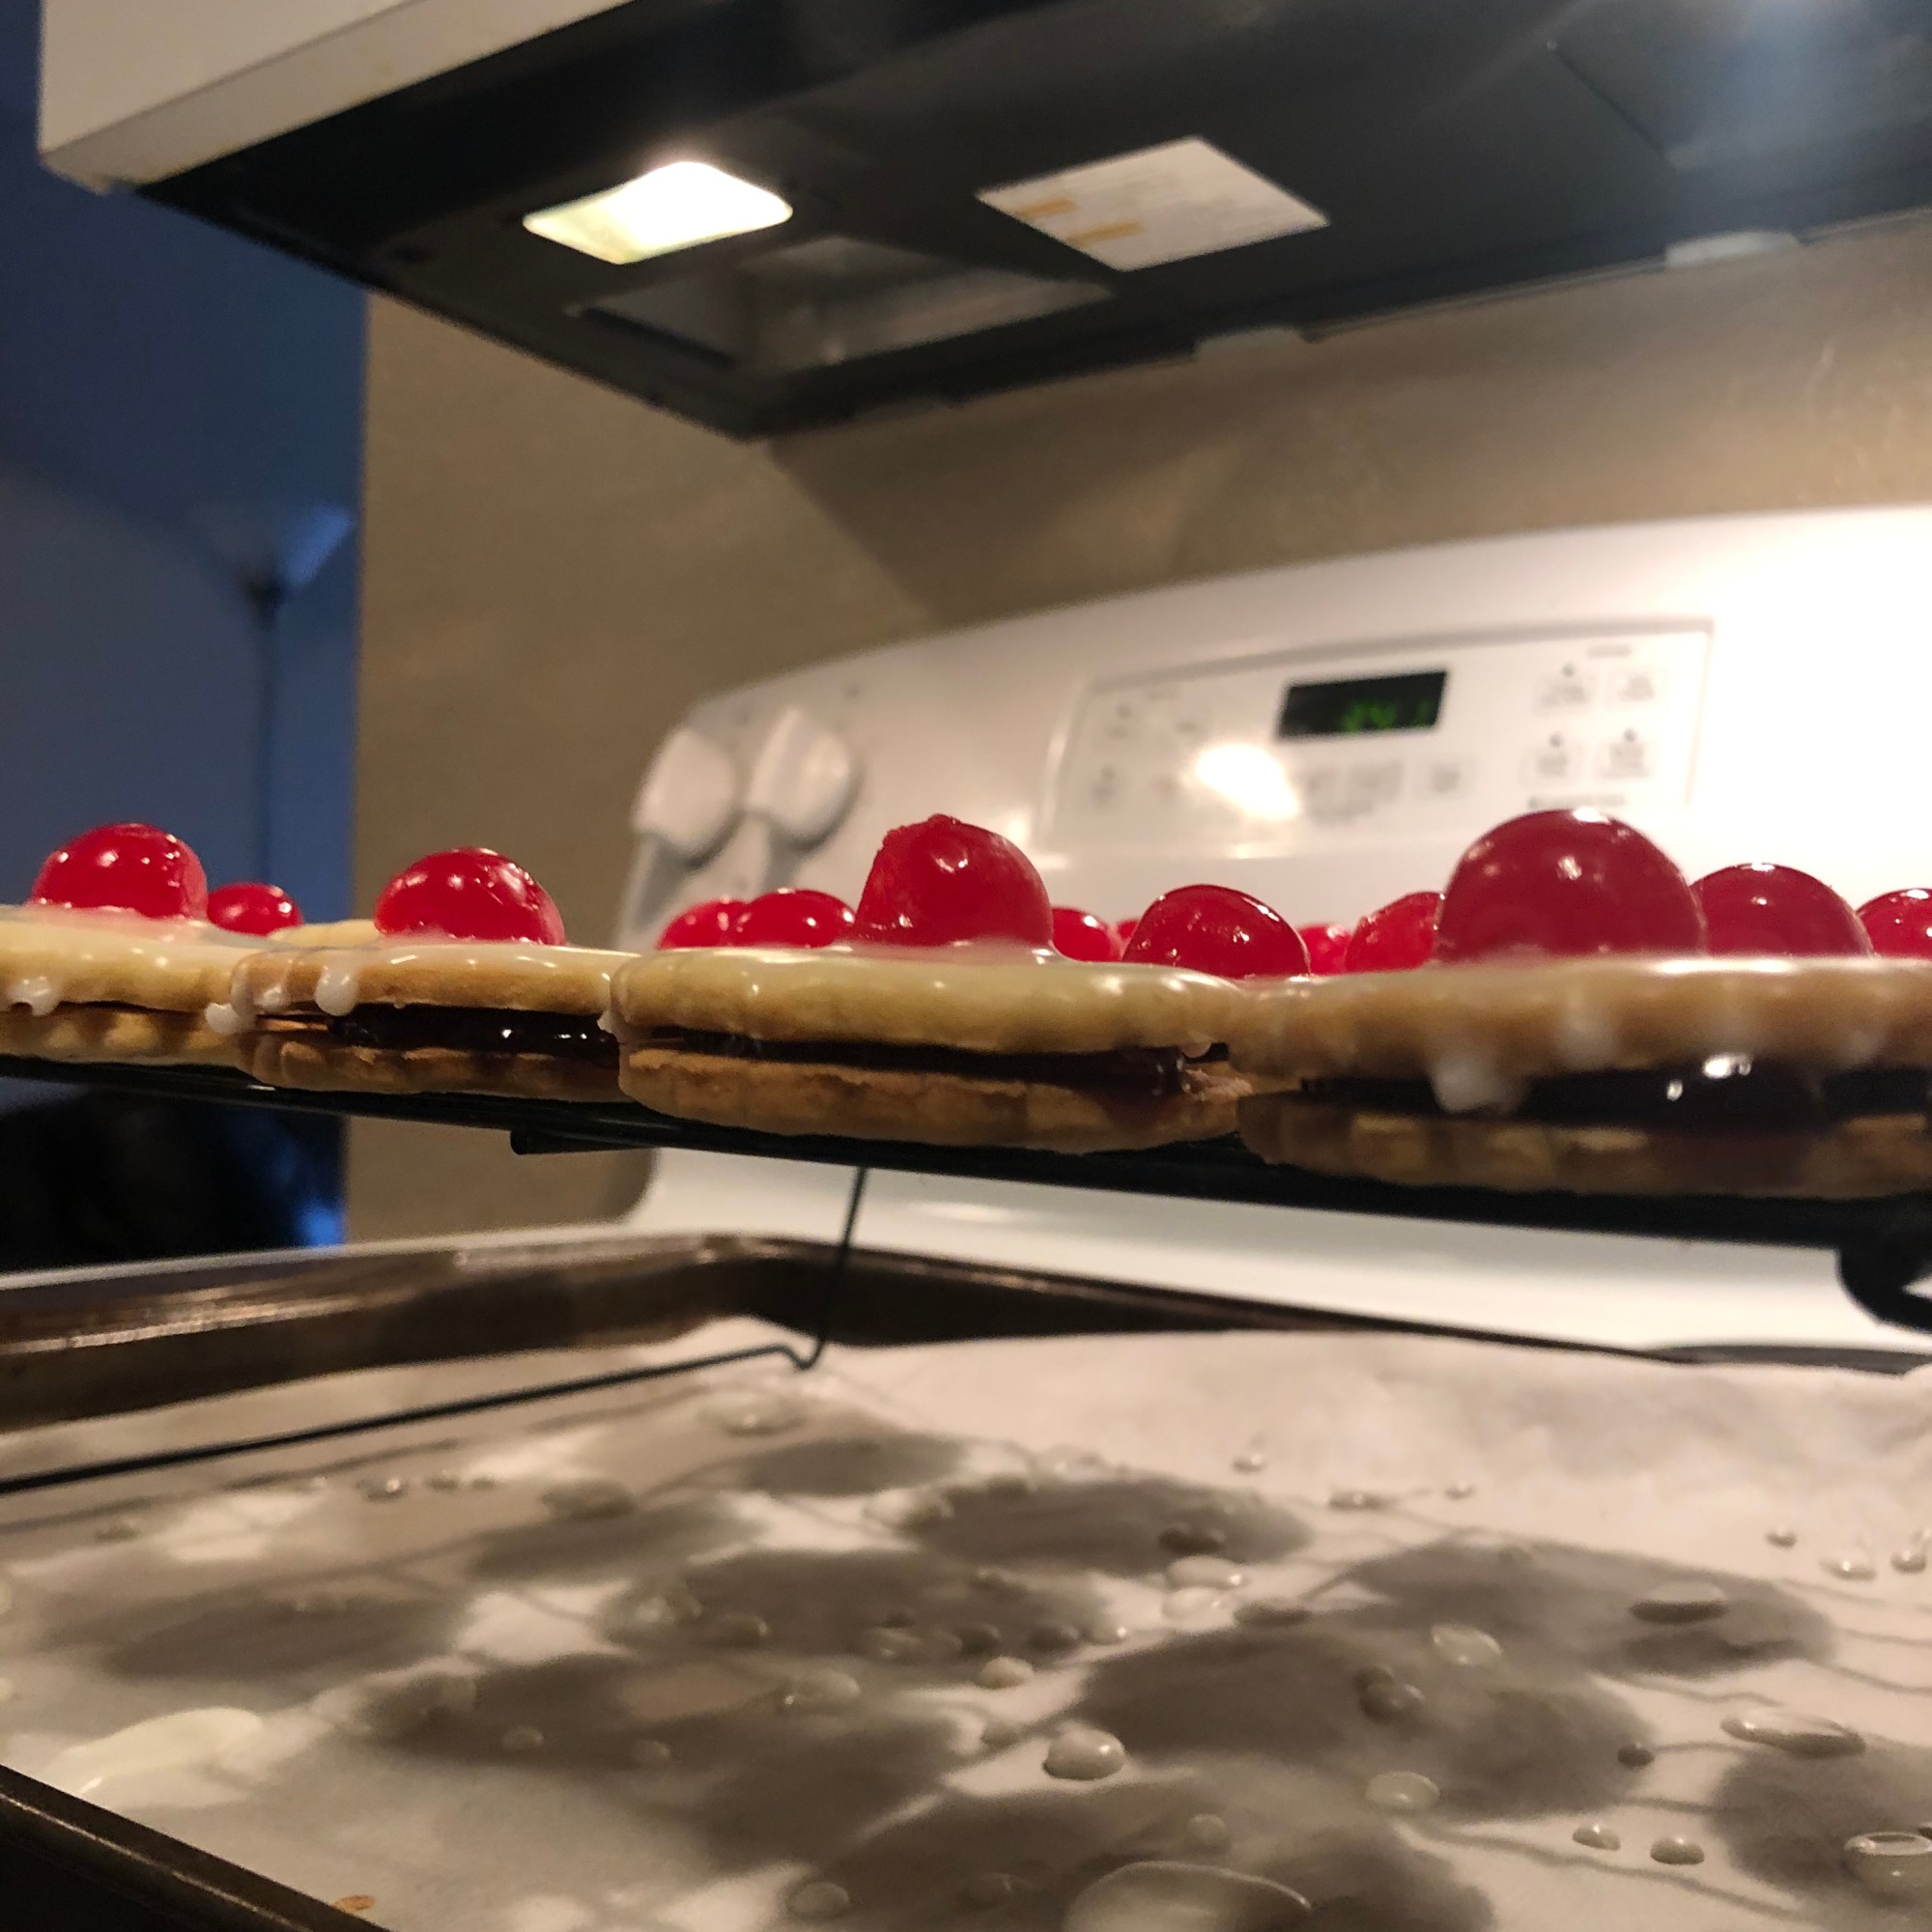
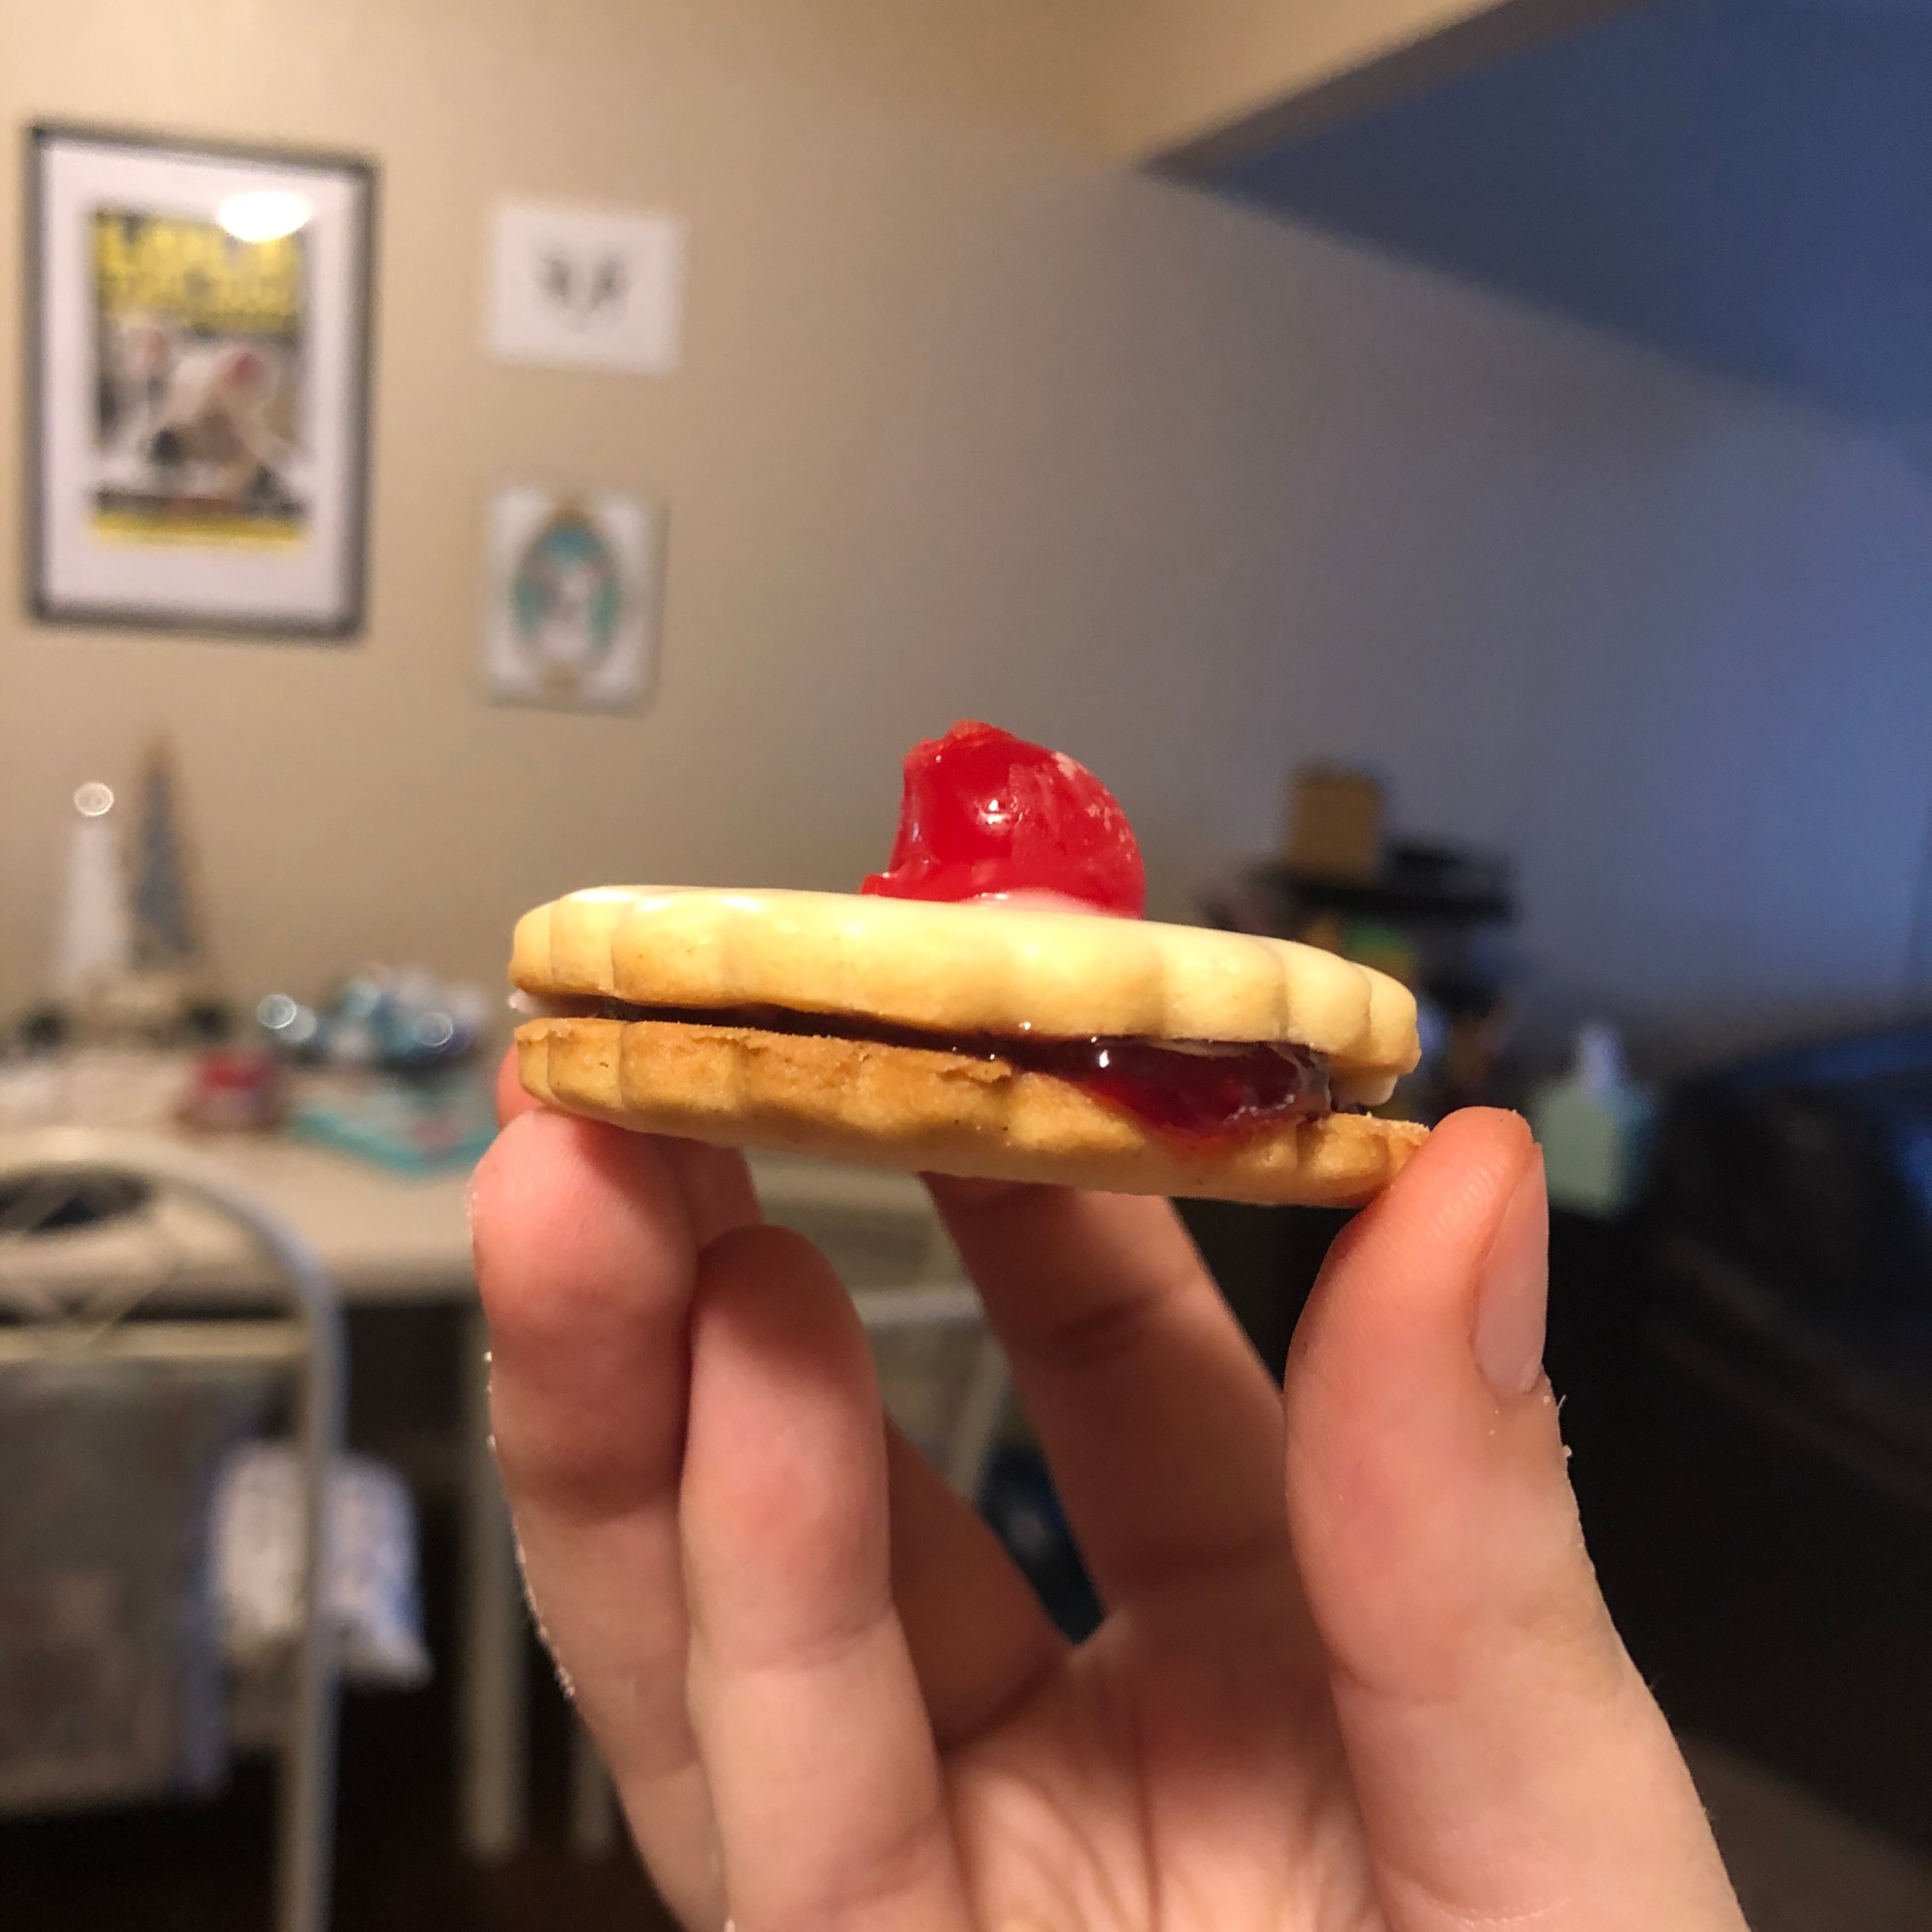
13. Let the cookies set a little, probably about an hour, before serving. I personally like them better overnight after the jam has absorbed into the cookie a little bit. The cookies are softer and the jam isn’t as messy.

Thanks for following along on my baking adventures! Happy Holidays!

Diana’s Holiday Bake-A-Long Week 6: Nanaimo Bars

I’ll admit: I have been pretty confident in my bakes thus far. They have all turned out pretty much exactly how I anticipated on the first try.

So when I arrived at this week’s “bake”, Nanaimo Bars (which aren’t technically a bake since there’s no oven or actual baking involved), I was also confident that these too would go to plan. That was not the case. In fact, I had to start these three times to get them the way I wanted. In my family, nanaimo is a holiday staple, and I was determined to get these right.

The original recipe’s instructions were to combine the base ingredients in a saucepan, so I did… and it separated. Next.

The initial recipe I used was the family recipe from a friend, and I suspect there were some important tips and tricks left out, because that’s how all grandmas write recipes — so that they’re the only ones that can make them the right way.

The results of trial #2. The taste was okay, and my husband will still eat them all, but I was unhappy with the custard — still runny after setting in the freezer.

Through some trial and error, and consulting other online recipes, I think I figured out the way I will continue to make these in the future, and the recipe I will pass on to you:

Nanaimo Bars Recipe
Ingredients:
Base:
3/4 cup (a stick and a half) unsalted butter, melted, and brought to room temp
1/4 cup white sugar
5 tbsp unsweetened cocoa powder
1 egg (room temp, if possible)
1 tsp. vanilla extract
1 cup. coconut (I used sweetened, shredded)
3/4 cup graham crumbs
Pinch of salt

“Custard”:
1/2 cup unsalted butter, softened
5 tbsp. heavy cream
2 tbsp. vanilla pudding powder (I used Jell-O pudding mix)
2 cups icing sugar

Topping:
3 oz. dark chocolate (I used a combo of Lindt 70% and Ghiradelli 60%, as that’s what I had on hand. Semi-sweet chocolate chips would probably work in a pinch)
2 tbsp. unsalted butter
Salt (to taste — use sea salt if you got it, kosher salt works fine too)

Instructions:
Base:
1. Mix sugar, cocoa powder, coconut, graham crumbs, and salt together.
2. Add (melted, room temp) butter to dry mix and stir until combined. Add egg and vanilla and combine.
3. Press evenly into a prepared 8×8″ pan and chill for at least 10-15 min.

“Custard”:
1. Cream together butter, cream, and pudding powder. Gradually add icing sugar a bit at a time until smooth.
2. Spread out over base and chill for at least 15 min.

Topping:
1. Melt chocolate and butter together (I did it in the microwave in 30-sec increments, stirring in between each increment), and spread over the custard layer. Sprinkle salt over top and chill completely, 2-3 hours, before cutting into squares. Store in the freezer for maximum deliciousness.

Diana’s Holiday Bake-A-Long Week 5: Iced Shortbread

Originally I had planned for these to be Ugly Sweater cookies, as I love both a sweater and a cookie, but I didn’t acquire a sweater cookie cutter in time, so I made mitten and stocking cookies instead. A classic Christmas tradition is made a little bit more special by making the cookies and icing from scratch.

The D, J, and L stand for Diana, Jeremiah, and Lola. Lola did not eat a cookie, as she is a dog, but I ate many on her behalf.

Ugly Seater/Stocking/Mitten Cookies

Ingredients:
Cookies:
1/2 cup unsalted butter, softened
1/2 cup white sugar
1 egg
1 tsp. vanilla extract
2 cups cake flour (seek out the cake flour instead of APF, it makes a difference)
1 tsp. baking powder
1/4 tsp. salt

Icing:
4 cups icing sugar
1 tsp. vanilla
4 egg whites (or 3 oz pasteurized egg whites)
Food coloring as desired

Instructions:
1. In a large bowl, beat butter with sugar until fluffy. Then beat in egg and vanilla.
2. In a separate bowl, sift together flour, baking powder, and salt.
3. Add the flour mixture into the butter mixture in 3 additions.
4. Shape the dough into a disc (it will be soft), wrap with plastic and chill in the fridge until firm, about 2 hours.
5. On a lightly floured work surface, gently knead the dough just to soften it slightly. Roll out the dough to approximately ¼-inch thick and cut out cookies using a cookie cutter.
6. Place the cookies on the baking trays, leaving ½-inch between them. Bake in a 350°F oven until edges are light golden, about 10 minutes. Let cool completely on racks.
7. For royal icing, combine the egg whites and vanilla and beat until frothy. Add confectioners’ sugar gradually and mix on low speed until sugar is incorporated and mixture is shiny.
8. Turn speed up to high and beat until mixture forms stiff, glossy peaks. This should take approximately 5 to 7 minutes. Add food coloring, if desired.
9. Allow cookies to fully cool before decorating. For the red icing, I dipped the cookies in the icing and scraped off the excess with an offset spatula. I let them set for about 2-2.5 hours before piping the white icing. Then I let them set overnight before transporting.

Diana’s Holiday Bake-A-Long Week 4: Ranger Cookies

“My two favorite things: crunchy and chewy and buttery, all in one.” – Truvy Jones, Steel Magnolias

She’s not the prettiest girl at the ball, but she’s got lots of sugar and butter and she’ll be the one you remember.

I have no idea where these cookies came from. I think they were a home ec recipe. I don’t know why they’re called ranger cookies, but I do know they’re super easy and super delicious, even if they’re not the prettiest cookie in the world. Makes a dozen and a half or so.

Ranger Cookies
Ingredients:
1/2 cup unsalted butter, softened
1/2 cup brown sugar, packed
1/2 cup white sugar
1 egg
1 tsp. vanilla
1 cup all-purpose flour
1/2 tsp. baking powder
1/2 tsp. baking soda
1/2 tsp. salt
1 cup oats (I used Quaker 1-minute quick oats)
1 cup Rice Krispies
1/2 cup flaked coconut (the recipe didn’t actually specify but I used sweetened coconut)

Instructions:
1. Preheat oven to 350 F.
2. Cream butter and sugars together until fluffy. Add egg and vanilla, blend until smooth.
3. In a separate bowl, combine remaining ingredients.
4. Add dry ingredients to wet ingredients, mixing until only just combined.
5. Drop by spoonfuls onto a prepared cookie sheet and bake for 10 min.
6. After baking, let rest for 5 minutes before eating.

Diana’s Holiday Bake-A-Long Week 3.5: Cranberry Lime Pie

My husband and I don’t have any family close by, so we’re no strangers to the two-person Thanksgiving. Last year, we made an all-soul food feast, but this year we decided on something more traditional. We made a little turkey, stuffing, mashed potatoes, green beans, rolls and the like, but the crowning achievement is my dessert: this cranberry lime pie.

Whipped cream is very popular with my dog.

With a gingersnap and pecan crust, I could eat this pie forever. I made the crust on Tuesday and the rest of the pie Wednesday, and let it chill in the fridge until we were ready to eat it. The recipe recommends taking it out before you serve, but my little apartment was so hot that I kept it cold and that worked for me. It’s Monday and the filling hasn’t soaked through the crust all the way yet and it’s just as delicious.

Cranberry-Lime Pie (from Bon Appetit)

Ingredients:
For crust:
4 oz gingersnap cookies
1 cup pecans
4 tbsp unsalted butter, melted
3 tbsp light brown sugar

For pie:
1 12-oz package fresh (or frozen, thawed) cranberries, plus more for serving
2 1/2 cups granulated sugar, divided
3 large eggs
3 large egg yolks (full disclosure, I thought this said egg whites, so I made it with egg whites instead. It was fine)
1 tsp finely grated lemon zest
2 tsp finely grated lime zest, divided
1/2 cup fresh lime juice (about 5 limes)
Pinch of kosher salt
3/4 cup (1 1/2 sticks) unsalted butter, room temp, cut into pieces
Whipped cream (for serving)

Instructions:
1. Preheat oven to 350°. Pulse cookies in a food processor until very finely ground (you should have about 1 cup). Add pecans; pulse until finely ground. Add butter and brown sugar; pulse to combine. Transfer to a deep 9″ pie dish.
2. Using a measuring cup, press firmly onto bottom and up sides of dish.
3. Bake until firm and slightly darkened in color, 10–15 minutes. If crust slides down sides, gently press back up. Let cool.
4. Bring 12 oz. cranberries, 1 cup granulated sugar, and ¼ cup water to a boil in a large saucepan over medium-high. Reduce heat; simmer until cranberries burst and most of the liquid evaporates, 12–15 minutes. Let cool. Purée in a blender until very smooth.
5. Cook purée, eggs, egg yolks, lemon zest, lime juice, salt, ½ cup sugar, and 1 tsp. lime zest in a heatproof bowl set over a saucepan of simmering water (bowl should not touch water), stirring with a rubber spatula and scraping down sides of bowl often, until curd thickens and coats spatula, 8–10 minutes. Let cool until just warm.
6. Using an electric mixer on medium-high, beat curd, adding butter a piece at a time and incorporating after each addition, until curd looks lighter in color and texture, about 5 minutes. (I assumed this meant a hand mixer, but it made my kitchen look like a murder scene. It worked, it was just messy. Use a stand mixer if you have it.) Scrape into crust and chill until firm, about 2 hours.
7. Bring ½ cup granulated sugar and ½ cup water to a simmer in a small saucepan over medium heat, stirring to dissolve sugar. Add remaining 4 oz. cranberries and cook until barely starting to soften, about 1 minute. Using a slotted spoon, transfer cranberries to a wire rack set inside a rimmed baking sheet. Chill until no longer sticky, 20–30 minutes. (As I said earlier, I chilled overnight and I highly recommend that. Or maybe my fridge sucks. Both possible.)
8. Toss remaining ½ cup granulated sugar and 1 tsp. lime zest in a small bowl. Toss cranberries in lime sugar. Top pie with cranberries; serve with whipped cream.